How to Care for Baby Chicks
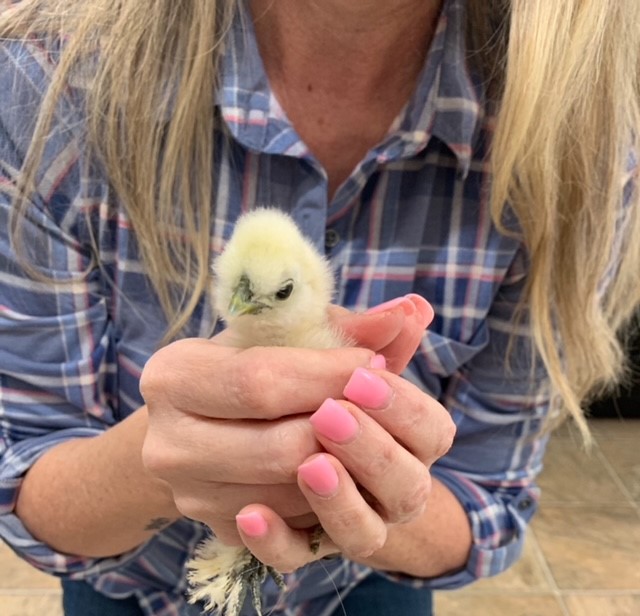
Caring for baby chicks is so much fun! It’s also a very important job and mustn’t be taken lightly.
While the first few weeks of learning to maintain a brooder box can be hard work, it’s very rewarding to watch those fuzzy little chicks grown their feathers and graduate to their very own coop 🙂
If you’ve decided to get your very own chicks this year, but aren’t sure what you need to care for them, I’ve put together this post just for you!
Here are some things you will need as a new chicken keeper for baby chicks
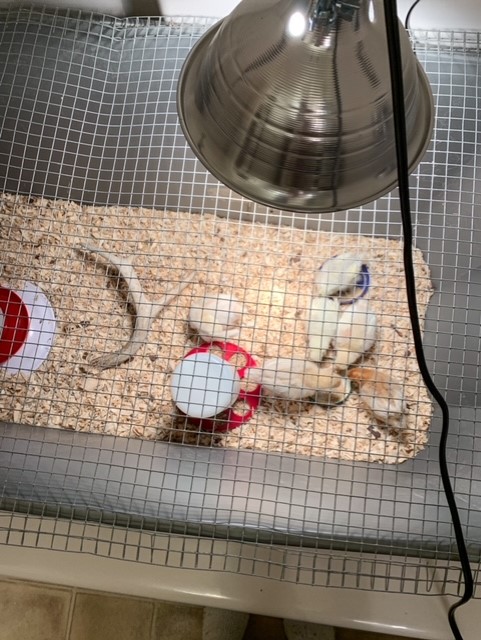
If you’re getting baby chicks, you will need what is referred to as a brooder box to house your chicks until they get their feathers and can maintain their own body temperature. This is usually 5-6 weeks.
Although we were only getting six chicks, I wanted to make sure they had plenty of room as they grew. The more room there is, the easier it is to keep the brooder clean…..cause there will be LOTS of poo! 🙂
Because of the unusually cold weather we were experiencing when we got the chicks, we opted to place the brooder box in the tub in our hall bathroom. Because we don’t have to use this bathroom, it was the perfect place to keep our chicks safe and sound regardless of the crazy, cold weather we were having at the time. It fit perfectly into the tub.
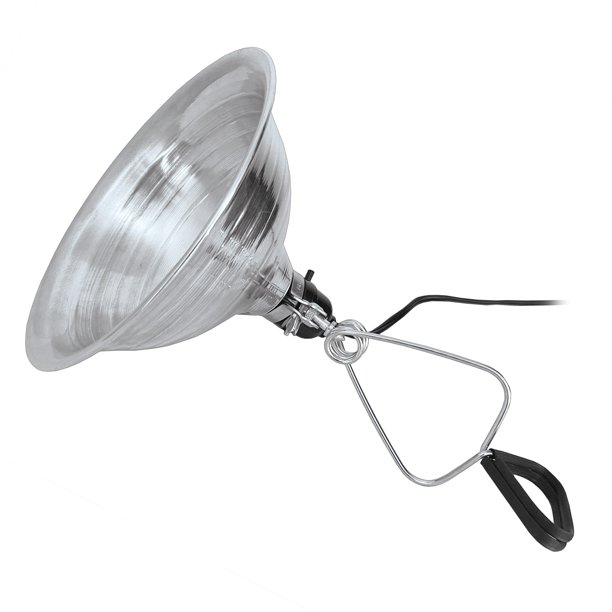
The next very important item you will need is a heat source to keep the chicks warm. As I said before, because they don’t have all their feathers yet, they cannot maintain their body temperature, so a source of heat is needed to keep them alive. Even though our chicks were in the house, they still needed extra heat to stay warm.
There are several different options for heating, but the clamp light seemed the easiest and most affordable for us and it worked well. We placed a metal bar across the shower to hang it form and were able to raise or lower the bar as needed to keep the temperature where we wanted it.
Tip: Make sure your brooder is ready for your chicks when they arrive home. That means also having it heated to the appropriate temperature.
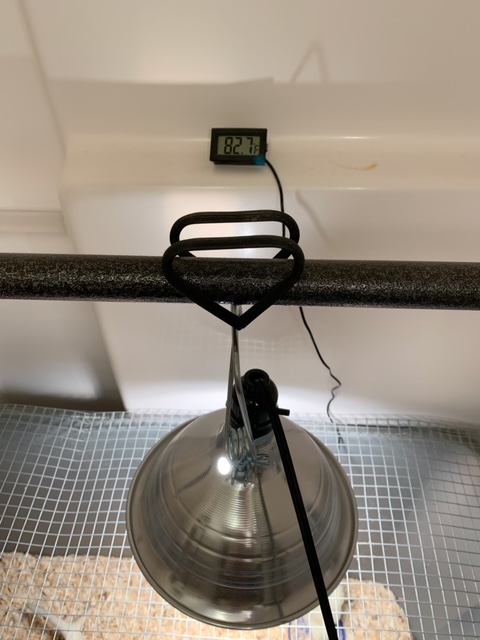
How will you know what the temperature is inside the brooder? We also installed a thermometer in the box so we would know what the temperature was at any given time. I found a chart on Pinterest that showed what temperatures to shoot for over the course of 5-6 weeks while the chicks were growing their feathers. We went by that and raised the heat lamp as needed.
Note: Regardless of what heat source you choose, it’s best to make sure it’s on one end of the brooder. That way the chicks can either get under it when they are cold and also get away from it if they start to get too hot. Just keep an eye on them. They will definitely let you know if the temperature is not good for them.
When they’re cold, they tend to huddle more and are very loud. If they’re hot, they will move away from the heat source.
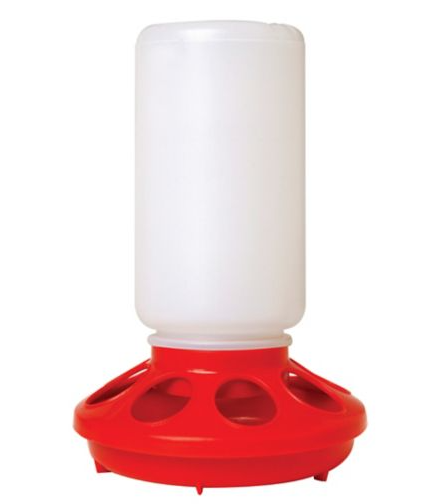
Of course, you will also need food and water feeders for the chicks. I recommend these small ones from Tractor Supply to start with. They don’t take up too much room, so they are perfect for the brooder. When your chicks outgrow them, just store them away for the next chicks you get 😉
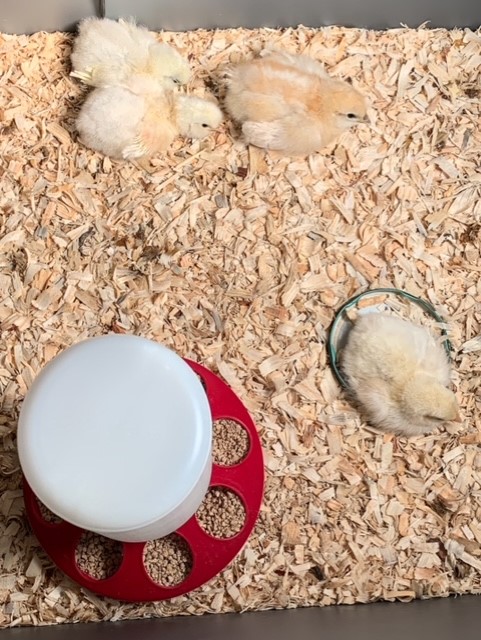
The feeder has the tiny holes for them to eat out of . These holes keeps them from standing in the food while they eat. That helps to keep the food cleaner and free of any poo. Believe me, chicks go anywhere and everywhere lol! In the picture above, notice the one little chick laying in something? We used a wide mouth jar lid to add some grit in for their diet. I guess this little chick decided to take a nap and felt like that was the perfect spot lol! (I talk about grit a little later).

Be prepared to clean up messes, especially with the water. As the birds grow and run around playing, they will certainly knock the water over and create a mess. I actually sat my water feeder into a larger tray to catch some of the splashes. Remember to keep fresh water and food in the brooder at all times for your growing chicks. Note: When introducing the chicks to the water feeder, gently dip their beaks into the water. I found that I didn’t have to do that with each of them because as soon as one does something, the others will usually do it too 🙂
Tip: Chicks also benefit from adding probiotics and electrolytes to their water for the first few weeks. I picked up several packets of each at Tractor Supply. Just follow the instructions on the packets to know how often and how much to give them.
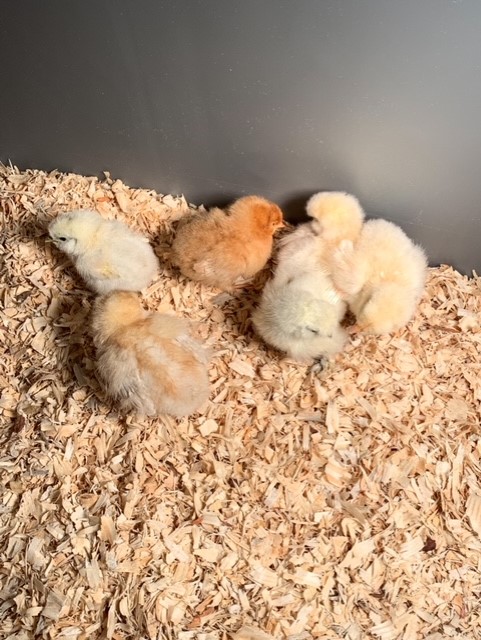
Fresh bedding is a must! I recommend pine shavings. I purchased a large bag from our local Tractor Supply and kept it nearby. The pine shavings do a great job of keeping your chicks dry, but after a few days, you’ll need to change it out completely to keep their temporary home clean and fresh for good health.
Chicks can sometimes get something known as “pasty butt”. This is a condition when droppings stick to a chick’s vent area and prevent excretion of waste. This most often occurs when chicks are received via mail, but it can occur any time. The condition is easily treated and recovery can be quick if you act promptly. Not treated it can be fatal. Here’s an excellent article I read about what to look for and how to treat this condition. Lucky for me, we didn’t have this problem.
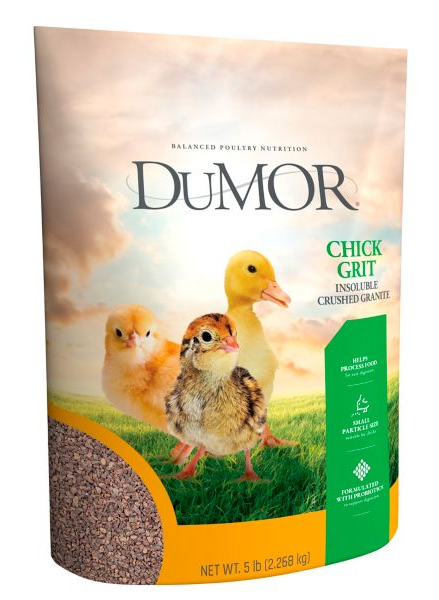
I mentioned putting grit in a large mouth jar lid while ago. Chickens don’t have teeth to chew their food, so they eat grit (dirt) to help grind up the food in their crawl. Once they are in their outside pen (assuming it’s on dirt), they will have grit already available. But in the brooder, it’s necessary to provide it for them. I’m no expert on this and some people use dirt out of their yard, but I wanted to make sure ours had the best option as babies. In my opinion, it doesn’t hurt a bit to provide all the extra support you can for their little digestive systems.
And of course, you will need chick feed. For baby chicks, you need to purchase a crumble feed for their developing digestive system. We chose Purina Start and Grow Non-Medicated Crumbles. We chose this brand mainly out of convenience, but if I had to do it again, I’d probably find an organic one. Either way, they loved it and did well on it.
As your chicks get closer to laying age (typically 4-6 months), you will change to a grower feed and then to a laying mash. Here’s another helpful article I found on knowing what to feed chickens.
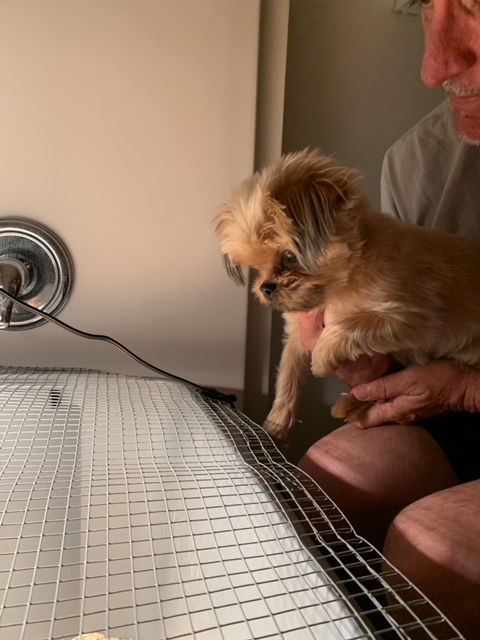
Our little Ellie was so obsessed with the “chicken babies”. Any time we went to check on the chicks, she had to be right there 🙂
I’m sure you noticed the chicken wire on top of the brooder. After a week or so, you’ll definitely need something on top of the box to keep the active little chicks from accidentally flying out and getting hurt….or not able to get back in near the heat. I even found one on top of one of the feeders one day!
By the way, just like all baby animals, chicks love to play! I put an old antler shed in the brooder for them to play on while they were in there. They looked like they were playing “king of the mountain” sometimes when I checked on them lol. You can actually buy a chick playground, so to speak, at Tractor Supply. I purchased one, but my chicks seemed to be afraid of it until they were the same size 🙂
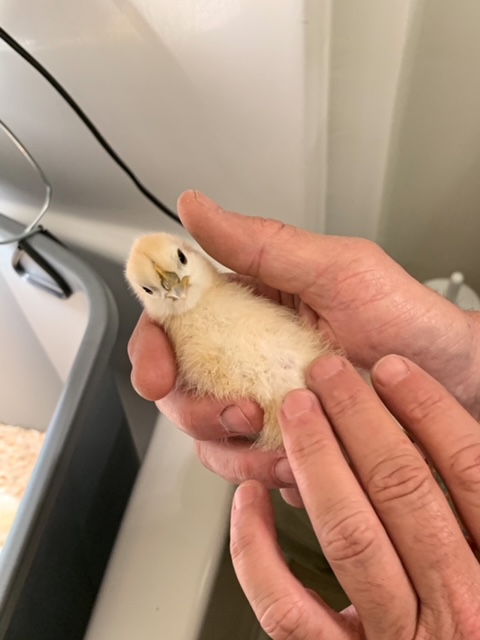
There’s alot more I could share about what we have learned about raising baby chicks, but in this post I just wanted to cover the basics of what type of supplies you need to raise them. I guess we did a pretty good job because ours are doing really well 🙂 They are growing and thriving and changing so much!
Out of the six chicks we purchased, we have one rooster for sure so far. I’m really hoping that’s all because I’m more interested in eggs than more chicks right now. But one thing is for sure, if we keep the rooster and decide to let a hen hatch her eggs, SHE will do all the work to raise the baby chicks 😉

