How to use a Pressure Cooker to Can Peas
This summer has been all about gardening and learning to can our produce.
I shared in an earlier post how we learned to water bath can tomato sauce.
Today, I thought it might be helpful to share how to use a pressure canner. The process is not as intimidating as I once thought it would be.
Here’s the process we used to pressure can our fresh peas
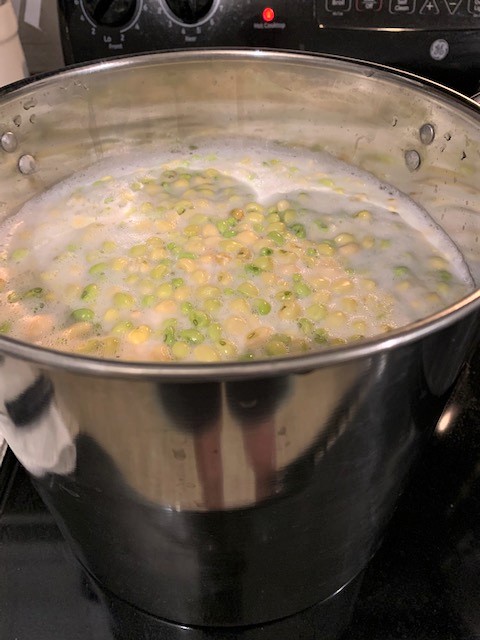
Any time you are putting up vegetables, whether canning or freezing, the first thing you need to do is blanch your vegetables. Blanching simply stops the enzyme process and allows your veggies to retain their freshness, color, and texture.
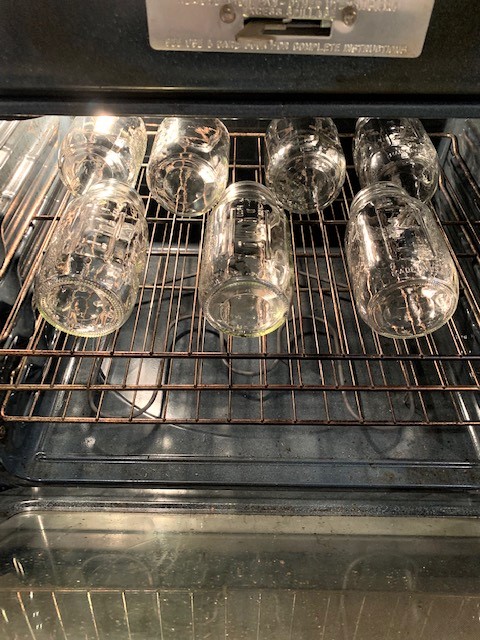
You also want to make sure you clean and sanitize your jars, lids, and rings.
After washing and drying our jars the day of canning, we heated them in a 180 degree oven for about 15 minutes. After turning the oven off, we left the jars inside until we were ready to fill them.
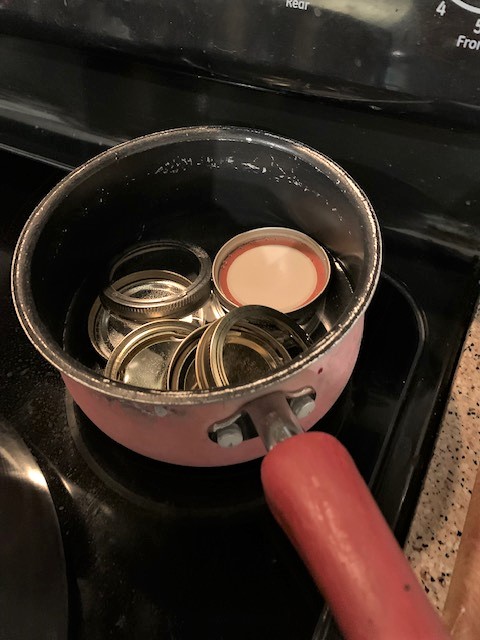
We heated our lids and rings up in water on the stove and kept them on “warm” until we actually needed to put them on the jars.
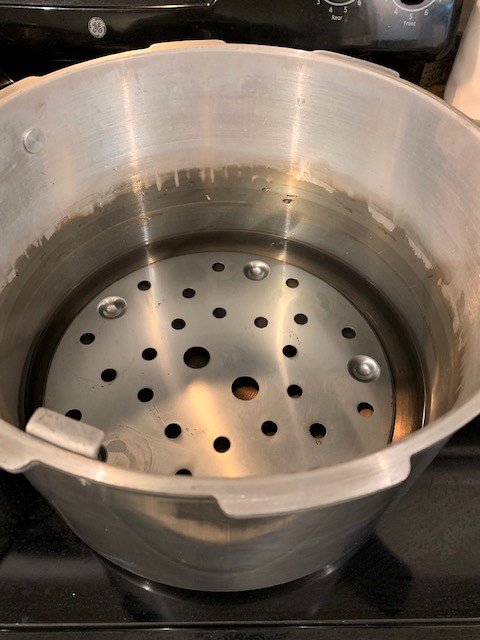
While our peas were blanching on the stove, we got the pressure canner ready to go and slowly warmed up 3 quarts of water and 2 tablespoons of vinegar in the pot.
We also went ahead and added the trivet to the bottom of the pot at this time. This allows the jars to have something to sit on besides the actual bottom of the pot.
Once the peas were in the jars with lids and rings attached, we started adding them to the canner, being careful not to let them touch the sides of the canner or each other.
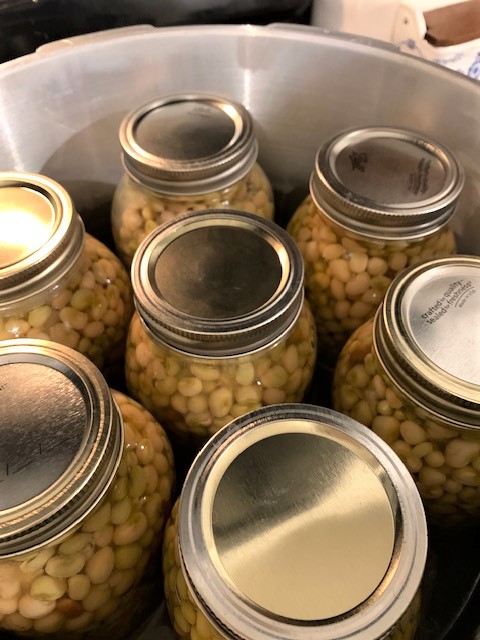
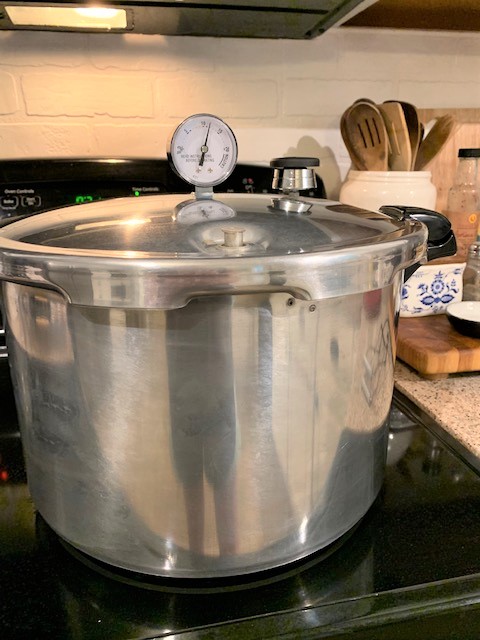
Once the cans are in place, set the lid on the canner and turn the temperature up to boil.
Once there is a steady steam for about 10 minutes, you are then ready to add the weight to the top of the canner.
Allow the pressure to build until you get to the desired weight. In this case for our peas, we were looking for about 11 pounds of pressure.
You can look at recommended weights for the item you are canning in the information booklet that comes with a new canner. If you’re using an older canner or don’t have access to a book, I’m sure there are helpful sites on line to give you recommendations.
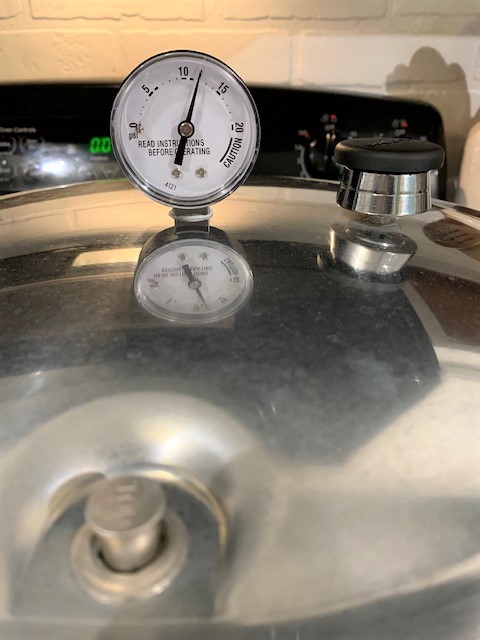
Be sure to set a timer once you’re at the desired pressure and try to hold the temperature there for the recommended amount of time. Again, this depends on the type of item you are canning.
When the timer goes off, turn off the stove. Don’t touch the canner until the pressure gauge reads zero.
When the pressure is back to zero and the stem has dropped back down, you know it’s safe to remove the top off the pressure canner.
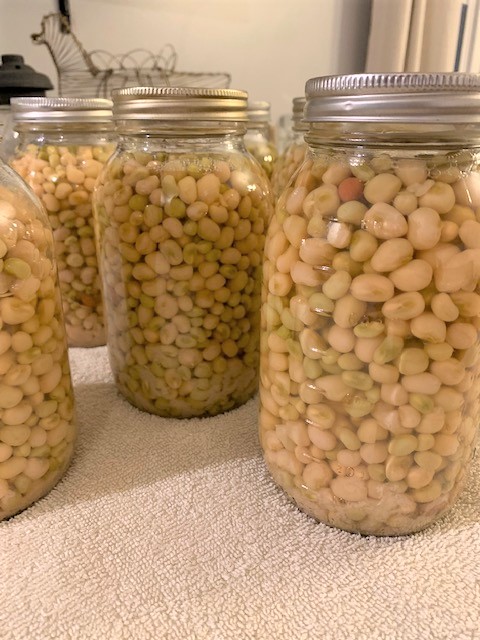
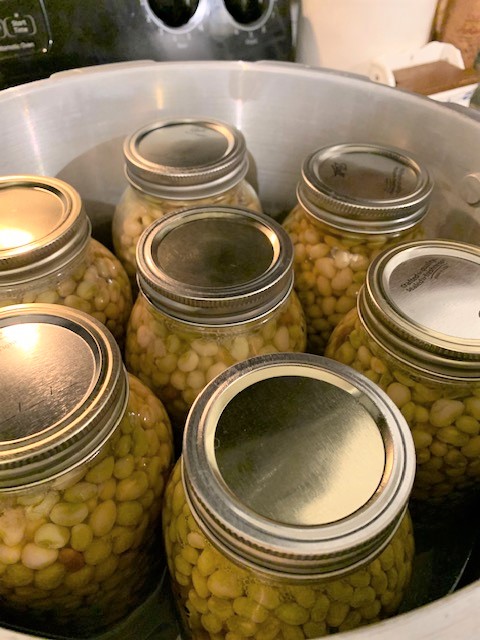
Remove the lids and carefully remove the jars with the jar lifter. Set them on a towel folded three ways and allow them to cool overnight. If you hear them popping, you will know they are sealing.
When jars have completely cooled and you verified they are sealed, be sure to add a label to show what item is canned and the date you canned them.
If a jar didn’t seal, be sure to store it in the refrigerator and use within a day or two.
Learning to grow and can our own vegetables this summer has been so rewarding. We’ve already made plans to expand our garden for next year. We will also try our hand at a fall/winter garden as well. I can’t wait to share more of what we learn!