How to DIY Board and Batten
Looking for a way to make a statement on a wall in your home without spending a ton of money? Try a DIY board and batten wall treatment. Let me show you how I made mine.
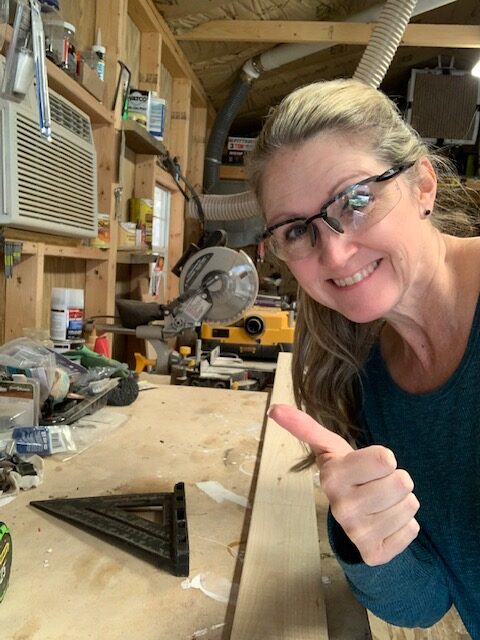
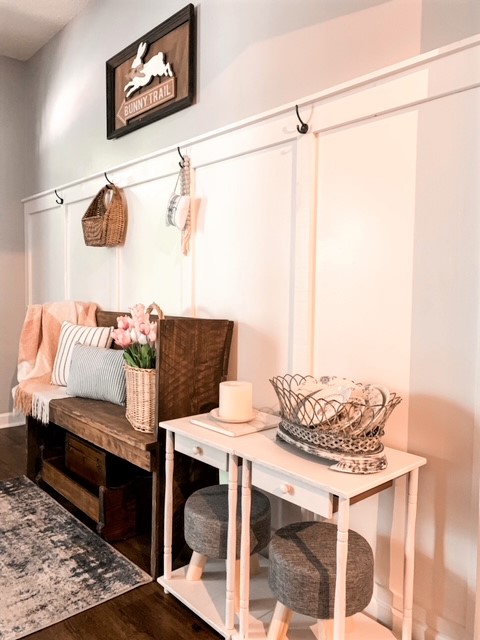
First, let’s take a look at my foyer before. Excuse the bad lighting in some of the photos. I had forgotten to take some of the pictures during the day. Struggles of blogger life while also maintaining a full time job 🙁
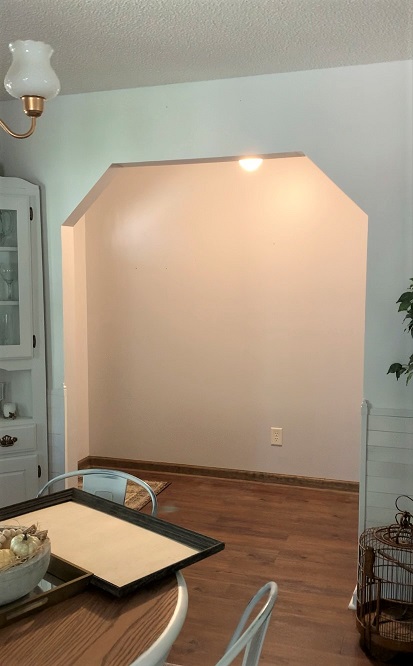
As you can see, our front foyer is pretty small. There’s just that one solid wall to the left when you walk in.
The opening to the right goes into our dining room and if you walk straight ahead, you enter the living room. So in my opinion, this is the perfect scenario for doing a fun wall treatment on one side to add some much needed character to the space.
Here’s what we used to do our own DIY
board and batten wall treatment:
- (2) 1 X 4 X 8 boards
- (3) 1 x 3 x 8 boards
- (2) 1 x 2 x 8 boards
- (2) pieces of lattice strips
- interior screws
- 1 gallon of paint in choice of color
- level, cordless drill, paint brush and roller
Let me point out that there are multiple ways to do a board and batten wall treatment using different types of boards. Depending on the length and height of your wall, the width you choose to space your battens, and the overall look you want, you may need more or less supplies.
But hopefully this blog post will give you the basic information you need to do this fun DIY.
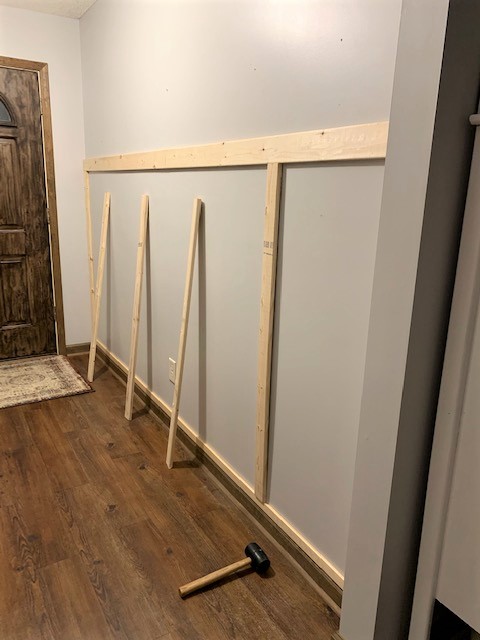
The first thing I had to decide was how high I wanted the wall treatment to be. I decided on 5 ft. high.
Once I decided on the height, we placed the 1 x 4 horizontally at that measurement, making sure to use a level. Because the 1 x 4 is only 8′ long and our wall was 10′, we had to use a whole piece and then some of a second board. Keep in mind that once you sand and paint, the seam will not be noticeable.
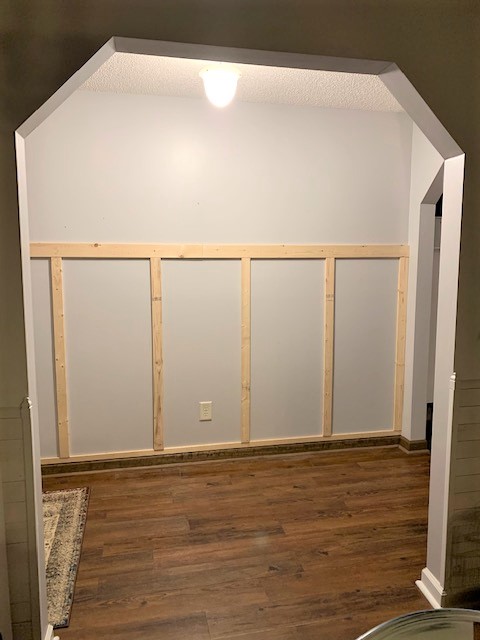
After the 1 x 4s were placed horizontally, we cut a piece of lattice strip to place above our baseboard. This made for a better transition for the bottom of our strips to touch the baseboard without a big gap.
Depending on the type of baseboards you have, some people remove their baseboards completely and redo them for this wall treatment. That was more work than I wanted to do, so this was a short cut we came up with 😉

Once the lattice strip was in place, we cut our 1 x 3s to the correct height to place vertically down the wall. We placed the end boards first, and then filled in the middle of the wall by spacing the other pieces equally apart. Again, space your battens at the width that you like. There is no right or wrong with this IMO. Also, don’t forget to take into consideration any electrical outlets you may have on the wall.
Not shown, we then added a 1 x 2 along the top of the 1 x 4 at the top of the wall treatment. By flipping the 1 x 2 on its side, we had a little ledge to give it a more finished look.
Note: You could also use a wider board up top if you wanted to be able to actually place things on top like framed prints, etc.
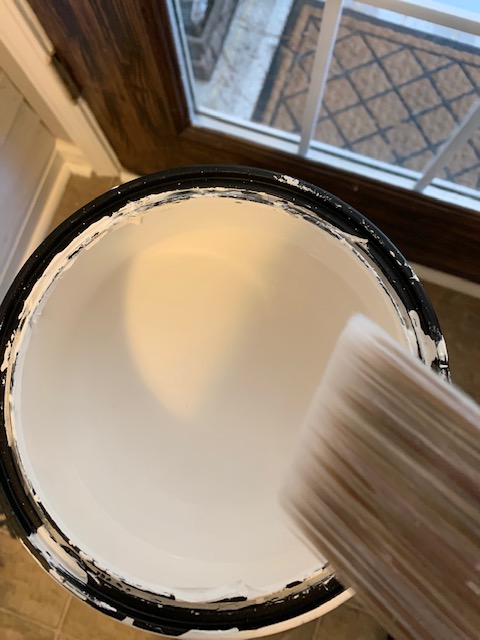
After caulking all the seams and sanding, you’re ready for paint. I chose my go-to favorite interior white paint, Whisper White by Behr in a satin finish. I used a brush to paint the edges and get into the seams and then rolled the rest. A couple of coats of paint, and this wall is done!
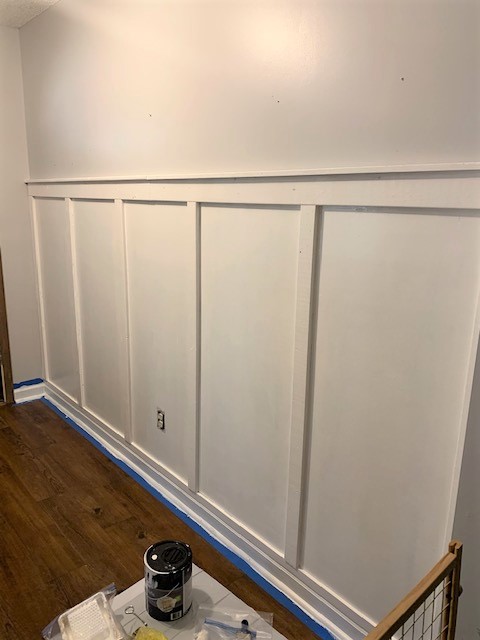
This was such a fun and easy weekend project for us. I shared videos of the entire process on my Instagram, so if you’re not following me over there be sure to.
I had so much fun styling my foyer for spring! I love the character that the board and batten adds to this space. Oh! I also added the black iron hooks along the top for guests to hang coats….and to use to decorate 🙂 I found them at Hobby Lobby.
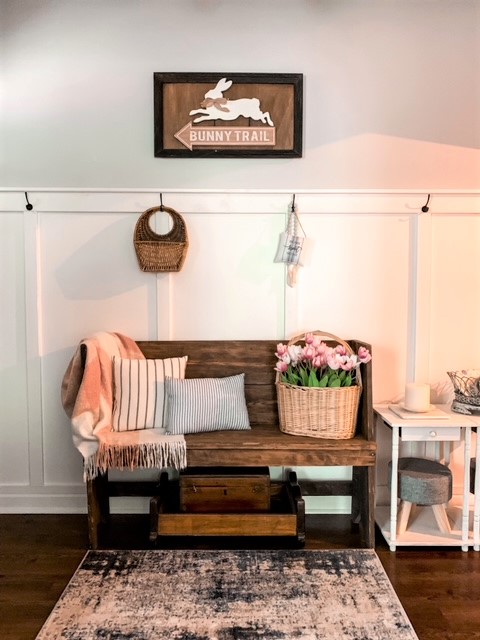
See how easy a DIY board and batten wall treatment is to make?
If you want more ideas and inspiration for decorating and diy projects, be sure to visit the other ladies’ blogs below for our monthly “It’s Good to be Home” Blog Hop.






Such a great project for your foyer, it really makes the space looks so updated and fresh. Plus what a great usual space you have now such a wonderful spring refresh.
Thanks, Jen! I’m wishing I’d done it a long time ago 🙂
I love it Lynn! It adds so much character!
Thanks, Robyn. It was a fun project and I’m loving it 🙂
I love the look of board and batten! You did such a good job. It takes the foyer to the next level!
Thanks so much, Becky! I really appreciate that 🙂
I really enjoyed reading your step-by-step guide on how to create a DIY board and batten wall! The way you broke down the process made it feel so approachable, even for those of us who might be new to woodworking. The finished result looks fantastic and adds such a charming, farmhouse feel to the space. I also appreciate how you took the time to explain which tools and materials you used, which really helps in planning for a similar project.
Since you’ve tackled such a great interior transformation, I’m curious if you’ve ever considered doing any exterior projects as well. For instance, have you thought about how a board and batten design could complement roofing styles, especially in terms of curb appeal? I’d love to know if you’ve experimented with any exterior design elements like roofing that work well with your DIY aesthetic!