Repurposed Drawer Idea
Let me show you how to transform an old drawer into a charming cocoa bar using some paint, wood glue, and small wooden knobs for feet. This project is perfect for adding a touch of cozy charm to your kitchen or dining area for the holiday season.
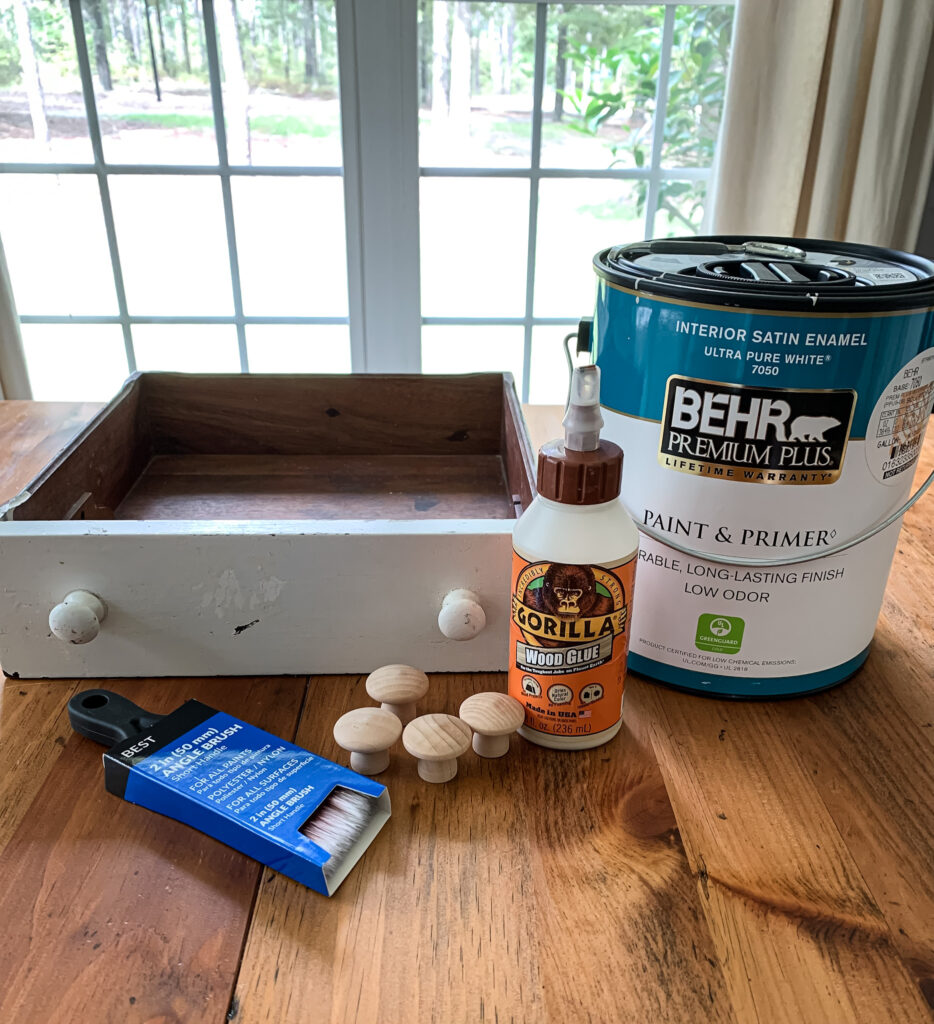
Materials You’ll Need:
- Old Drawer: Find an old drawer that’s no longer in use. You can often find discarded drawers at thrift stores or salvage shops.
- Paint: Choose a paint color that matches your kitchen or dining room decor. I used an interior satin enamel that I had on hand, but any paint will work. I do recommend a chalk paint if you want a more rustic look.
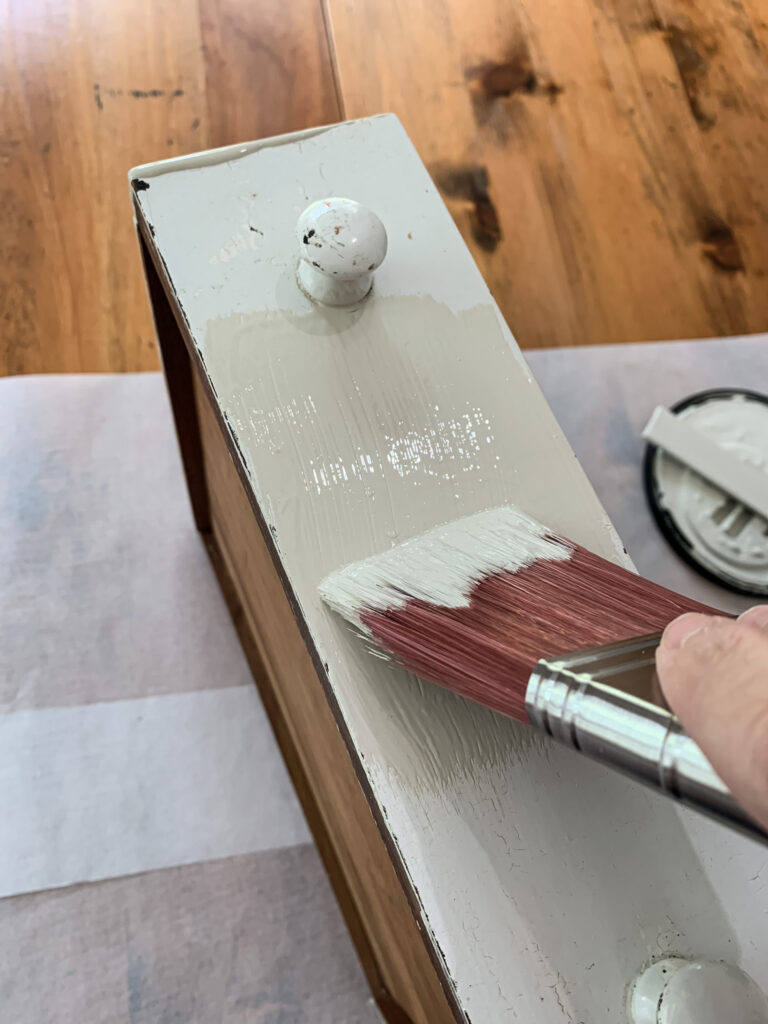
- Paintbrush: My go-to is a 2” angled brush for small projects like this. The angle allows you to get into the corners easily and provides good coverage.
- Small Wood Knobs: These will serve as the “feet” for your cocoa bar. You can find these at a hardware store or online. If you want the cocoa bar to be taller, just choose hardware that will add extra height to your piece.
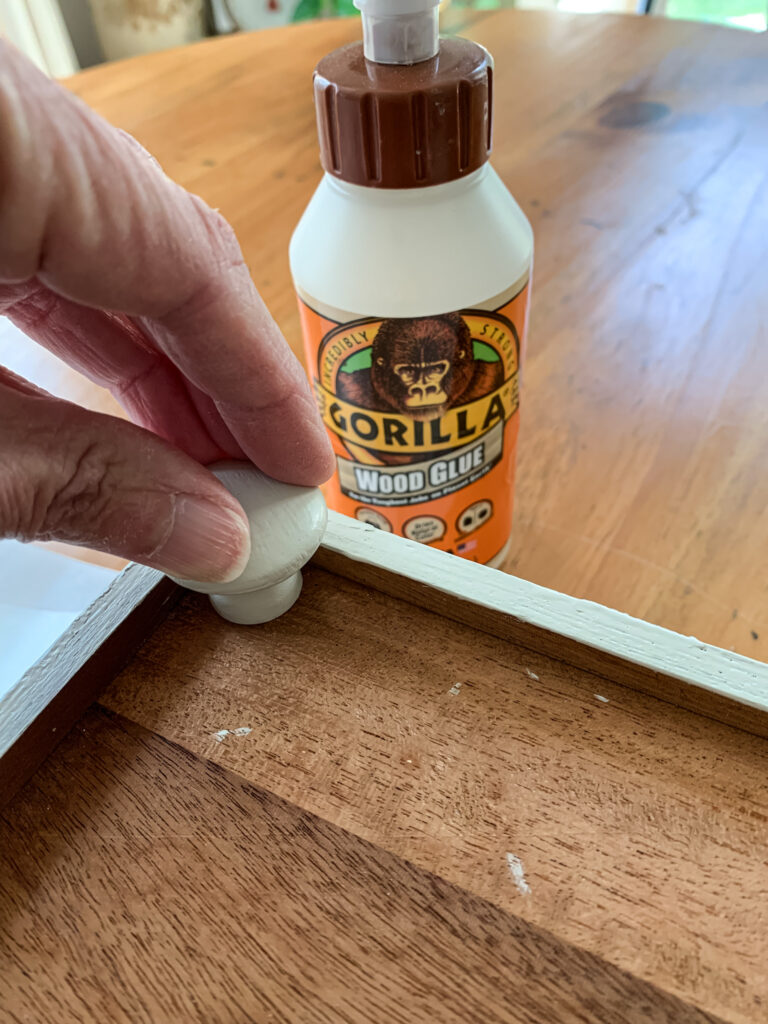
- Wood Glue: To attach the knobs to the drawer.
- Other Helpful Items: sandpaper to smooth out any rough edges to create a smooth surface for painting; small screws to attach the knobs securely; and a drawer pull if your drawer doesn’t have one for a finishing touch.
Step 1: Clean and Sand
Start by cleaning the old drawer thoroughly to remove any dirt or grime. Once it’s clean, use sandpaper if you need to smooth out any rough edges and create a clean surface for painting. My drawer was already smooth and just needed a fresh coat of paint.
Step 2: Paint the Drawer
Apply a coat of paint to the entire exterior of the drawer, including the sides. Let it dry completely, and then apply a second coat if needed.
Step 3: Paint the Inside (Optional)
While the exterior is drying, you can also paint the inside of the drawer if you wish. This step is optional, but adds a nice finishing touch. Once you’re done painting, let it dry completely.
Step 4: Attach Wooden Knobs as Feet
Flip the drawer upside down. Mark where you want to attach the wooden knobs as feet. You can place them in each corner, or along the edges, depending on your preference. Apply a small amount of wood glue to the base of each knob and press them firmly onto the marked spots.
Step 5: Secure with Screws
After the wood glue has dried, strengthen the attachment by drilling small screws through the bottom of the drawer and into the knobs. This will insure they are securely in place. My drawer bottom was very thin, so I opted to not use screws. The wood glue is holding the knobs nicely in place.
Step 6: Add a Drawer Pull
If your drawer doesn’t have a handle, attach a decorative drawer pull or knobs to the front for a functional and stylish touch.
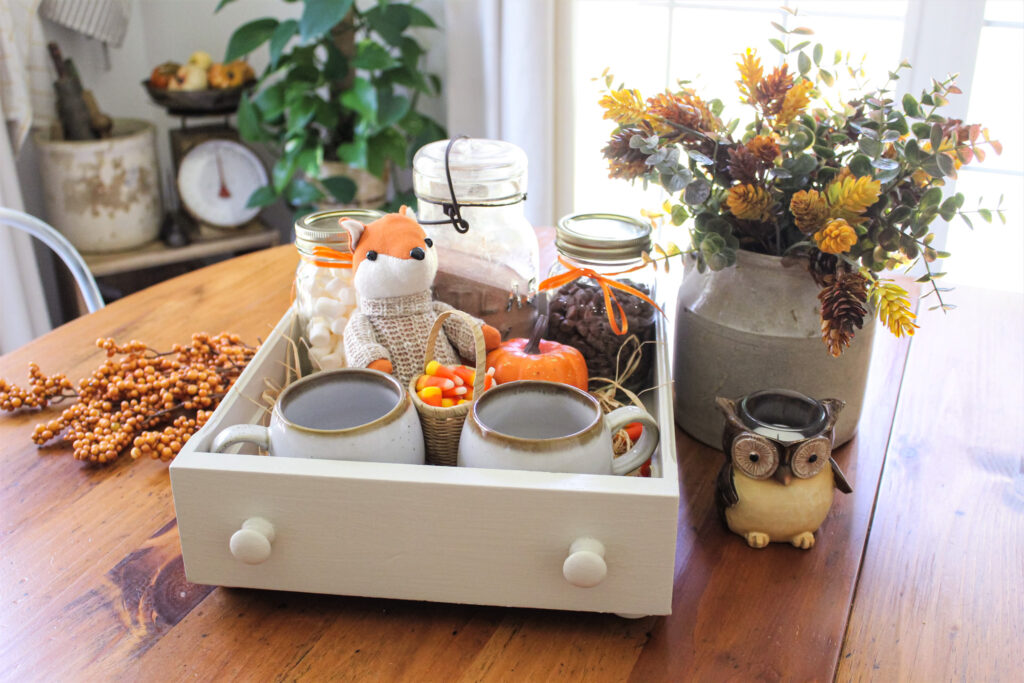
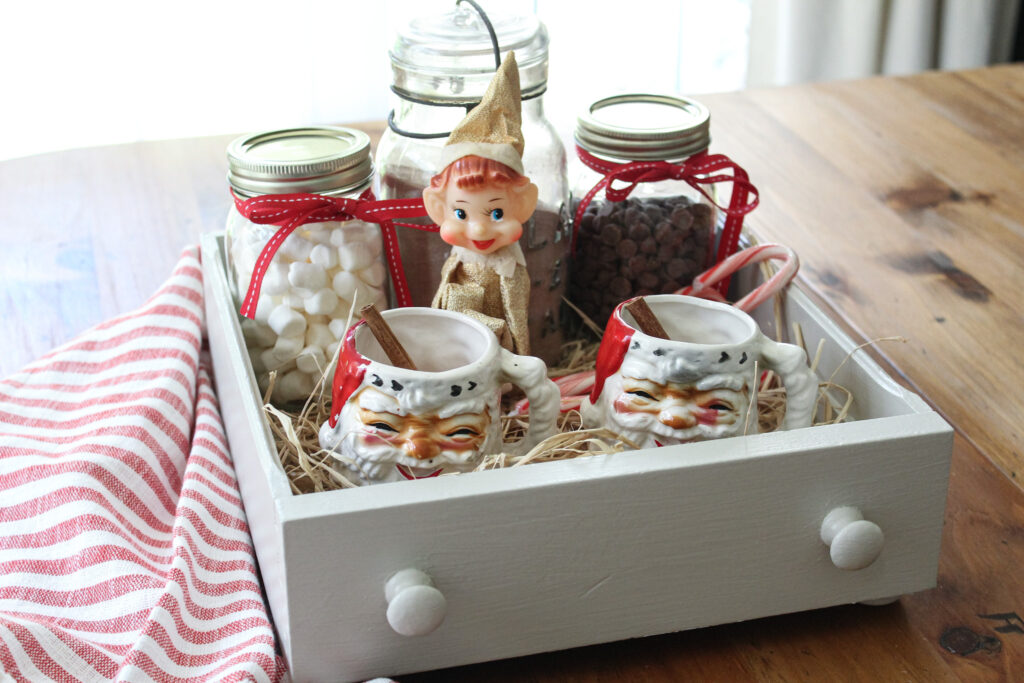
Step 7: Decorate Your Cocoa Bar
Now that your drawer has been transformed into a cute cocoa bar, it’s time to decorate it to your liking. You can add mugs, hot cocoa mix, marshmallows, and any other cozy touches you desire.
After styling this one for fall, I was inspired to also style one for the upcoming Christmas season!
And there you have it – a repurposed drawer turned cocoa bar that will add warmth and charm to your home. Enjoy your cozy cocoa station, perfect for chilly days or entertaining guests!