How to Make a Hay Bale Garden
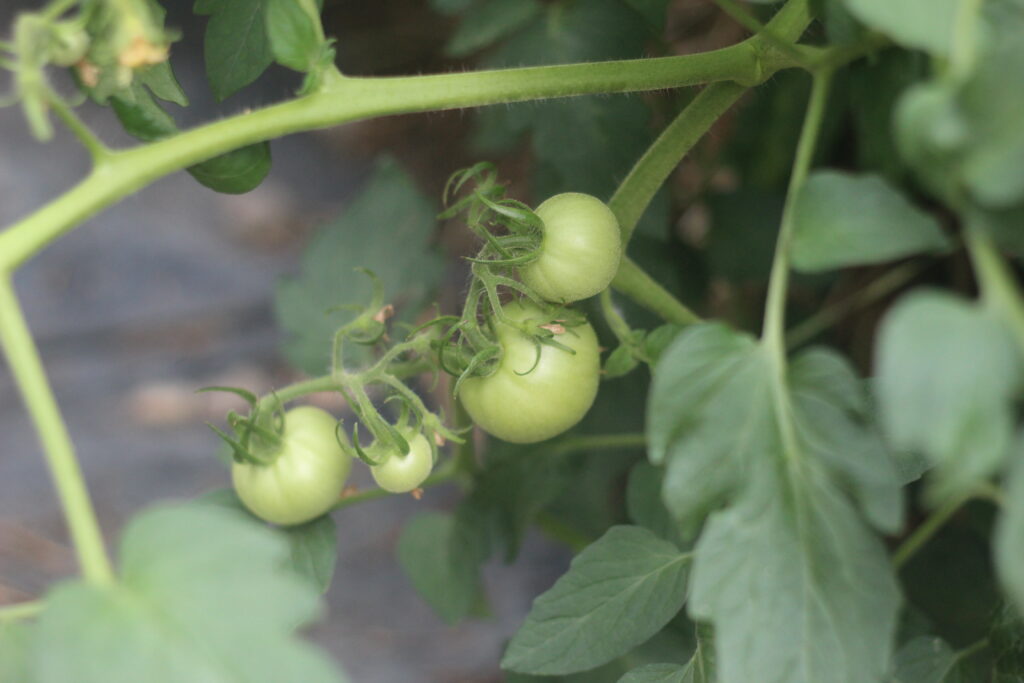
Hay Bale Gardening……have you guys ever heard of it? I had heard the term once or twice, but really wasn’t familiar with it until the Mister decided to try a small garden of his own a few years ago using this simple process.
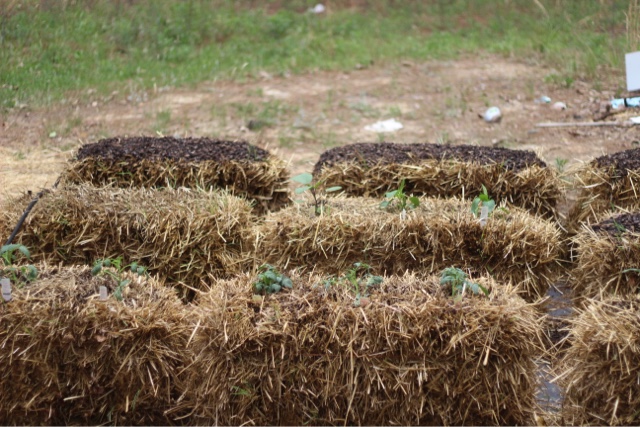
How to Make a Hay Bale Garden
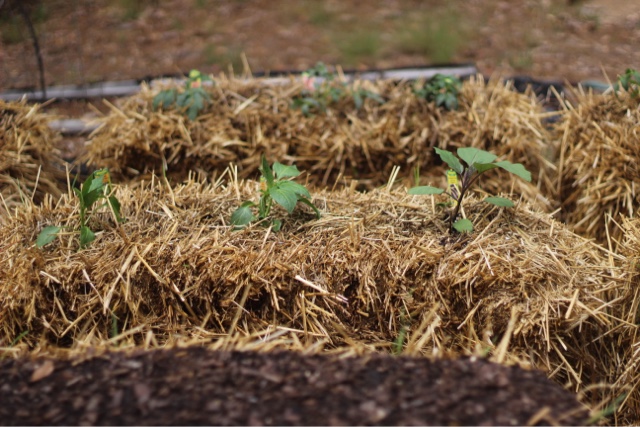
He began by purchasing nine bales of hay. He placed them on thick black plastic to not only define the area, but to keep any grass or weeds from growing between the bales themselves.
The first step in this process was to prepare the bales themselves. This is done by adding blood meal, fertilizer, and water to the bales and allowing them to go through a heat to begin composting within. This process took about two weeks.
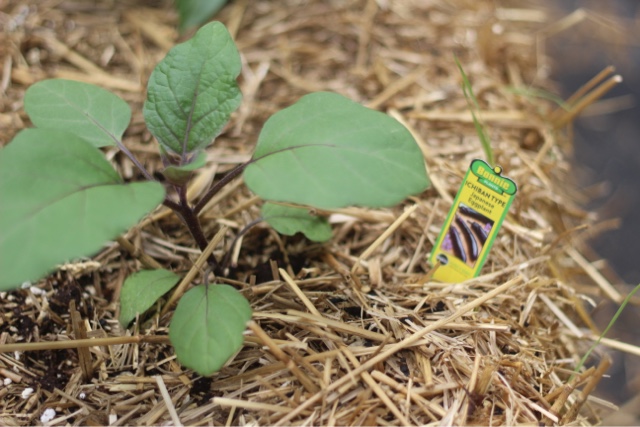
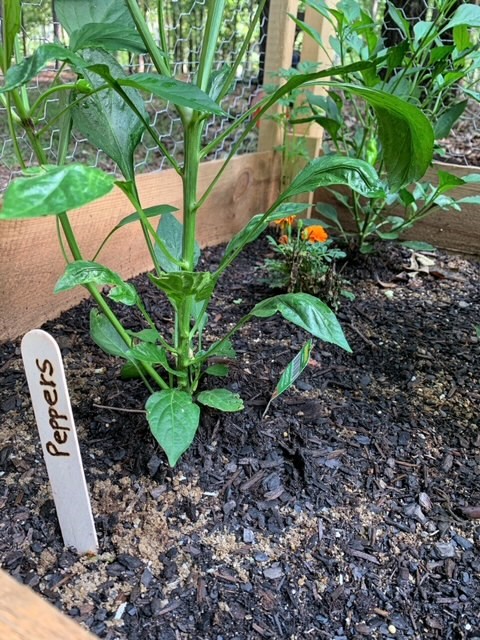
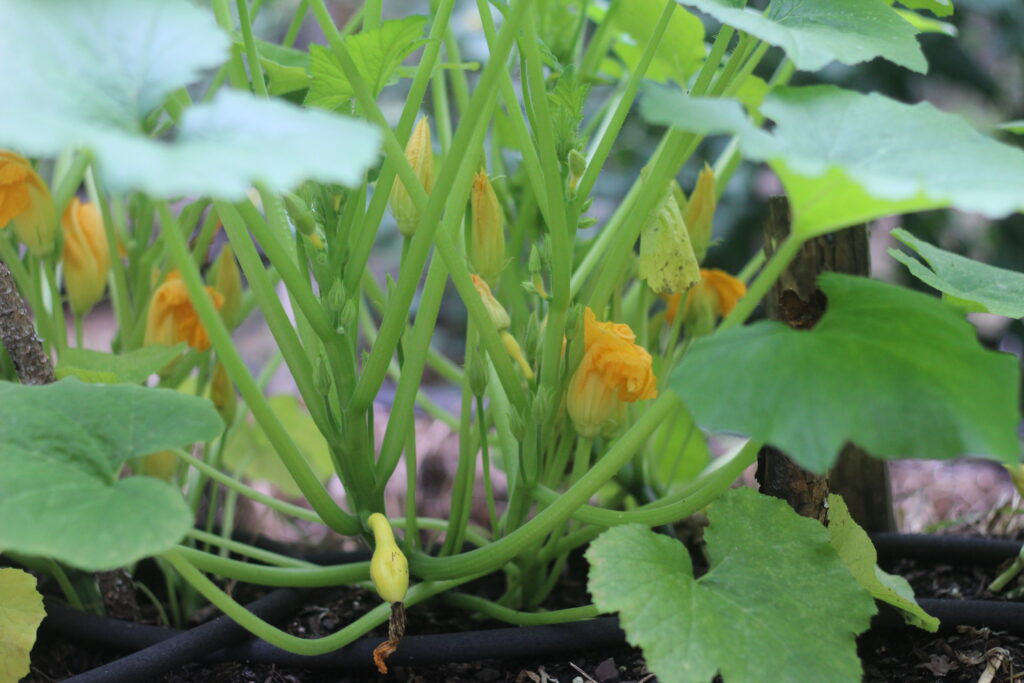
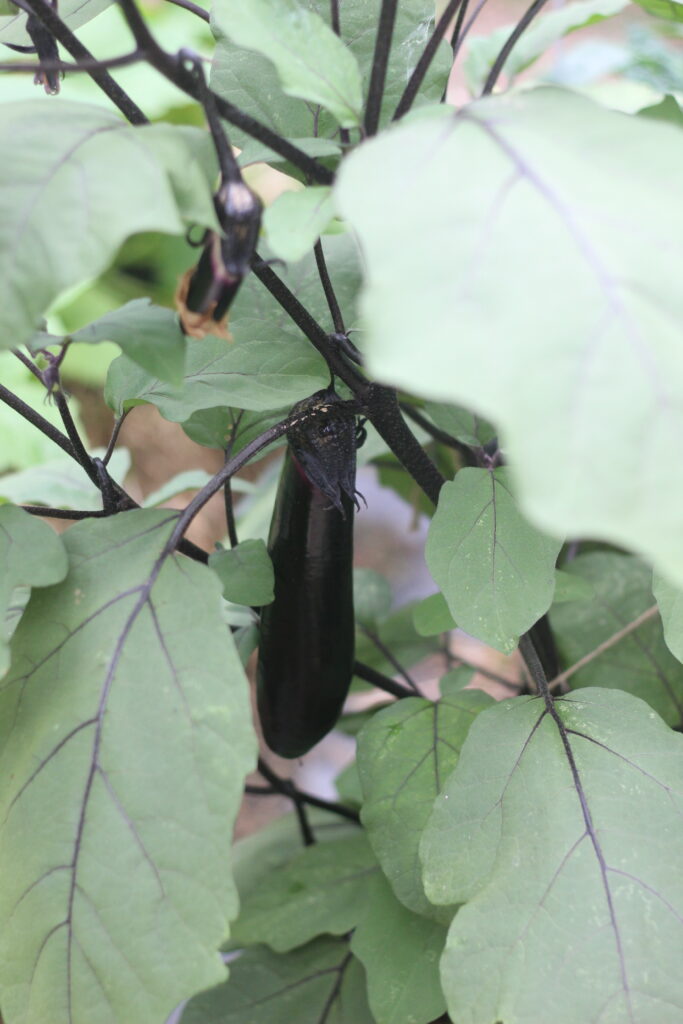
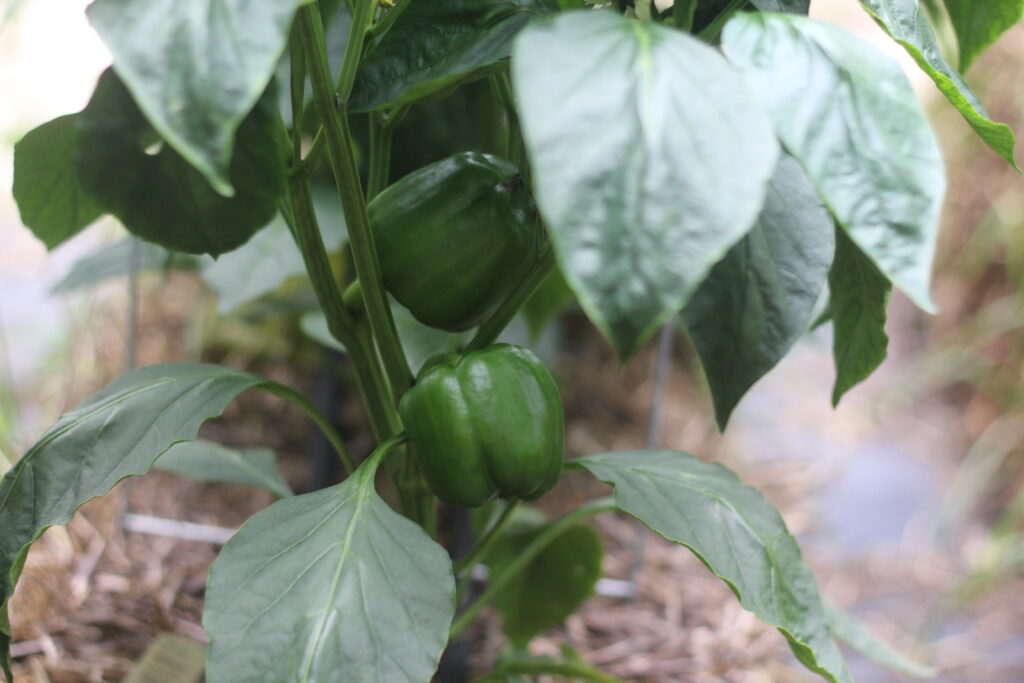
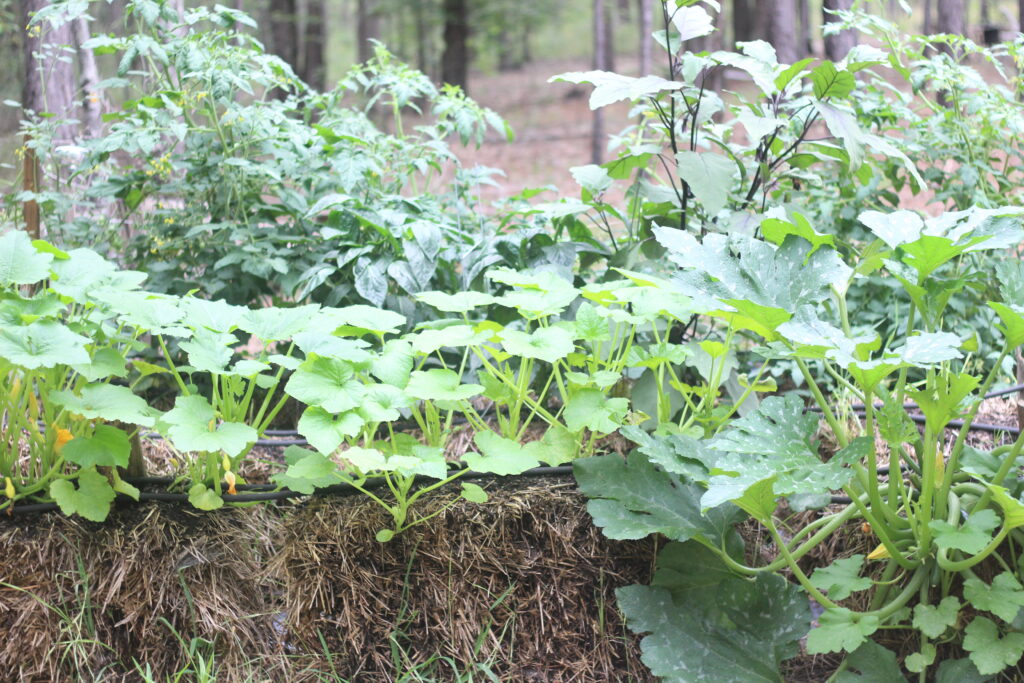
Once that’s done, you’re ready to plant in the hay bales. Scott chose to plant a couple varieties of tomatoes, squash, peppers, and egg plant,
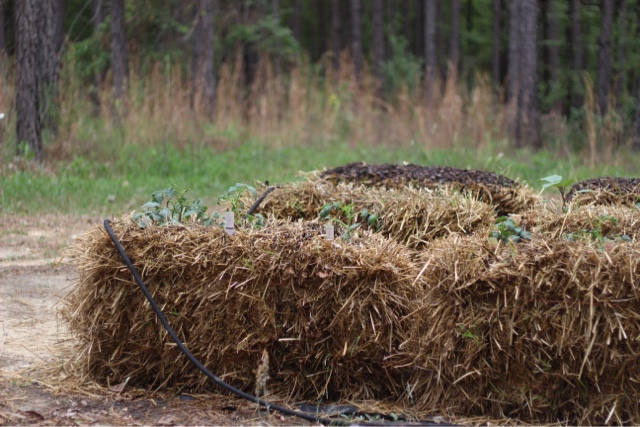
He tried planting seeds in top soil across the tops of two bales, but didn’t have much success with them germinating. He blamed it on bad seeds….and problems with the lizards eating the seeds 🙂 So seedling plants were used on the other bales and they did very well.
Scott also used a soaker hose to water the plants. Not only does it water the plants more thoroughly, it saves you the trouble of having to baby sit the water hose….and that’s always a good idea 😉
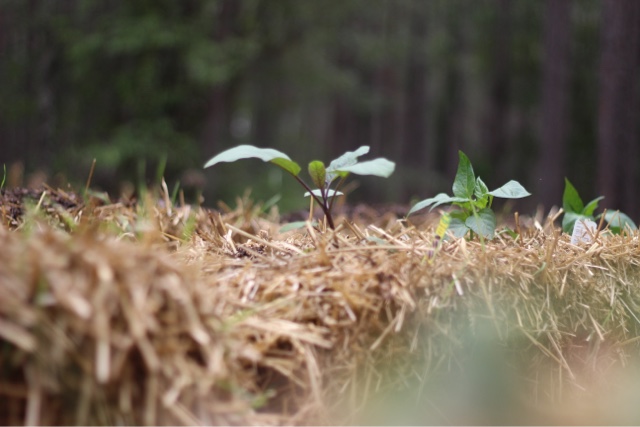
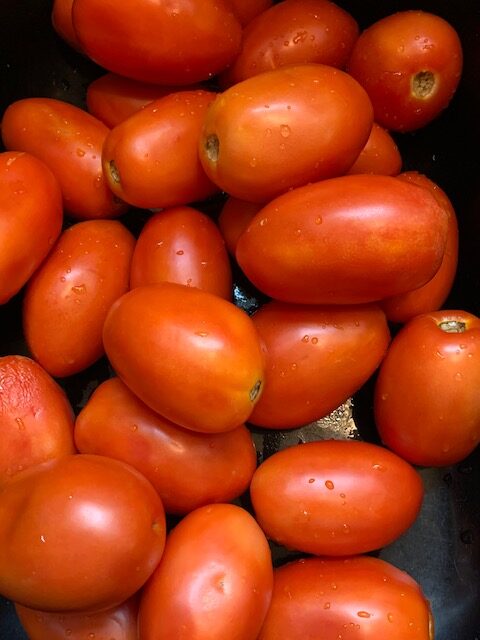
The small plants really took off and in no time, we had a beautiful garden to harvest.
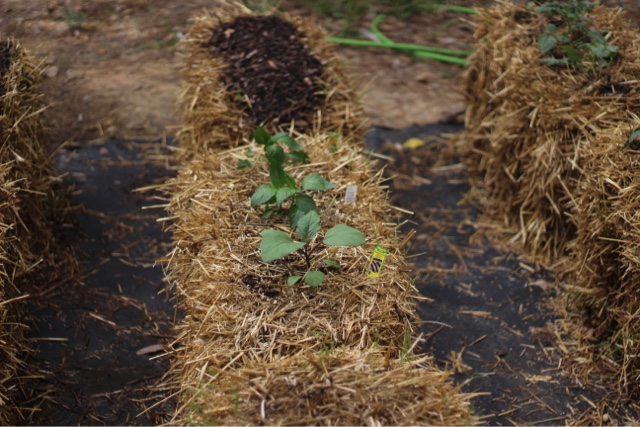
You’ve got to give hay bale gardening a try if you haven’t already. Especially if you don’t have a large space to plant or need to do something more like container gardening near the house.
We have lots of wildlife here in the Wildwood, so the hay bale garden was close to the house and worked out well for us.
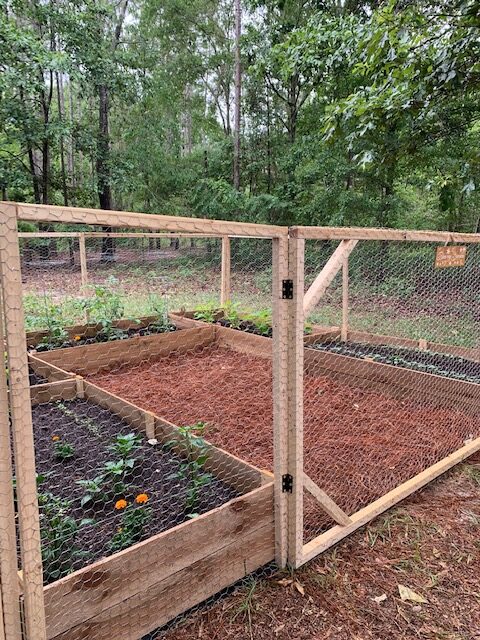
Last year we did a raised bed garden with a fence around it. This year, we have expanded on that and now have a large area to plant in ground that is also protected by fencing. So we don’t need the hay bale garden for the same reasons now, but I think it would also be a great space-saver in the fenced garden. Maybe I can talk Scott into it! 🙂

