How to DIY a Truck Bed Liner
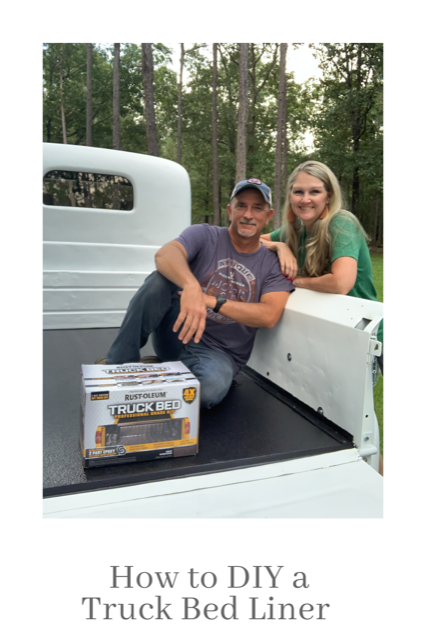
Over a year ago, my husband was gifted a 1946 Dodge pickup truck that belonged to his late uncle.
This truck holds alot of special memories for my husband of times spent with his uncle riding around in this truck and working on different parts of it through the years.
After the truck was gifted to my husband, he’s spent the better part of a year restoring it a little at a time.
To complete the outside and give it a “finished” look, he wanted a truck bed liner put in.
Never ones to back down from a good ole diy project, we decided to do it ourselves.
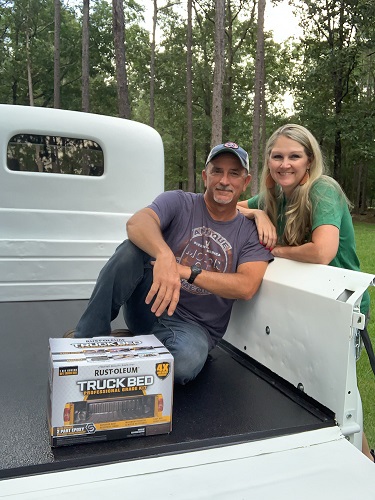
I reached out to Rust-Oleum about collaborating on their Truck Bed Professional Liner Kit and they were in agreement that it would be a fun project.
It was a very simple process and was completed it in one afternoon.
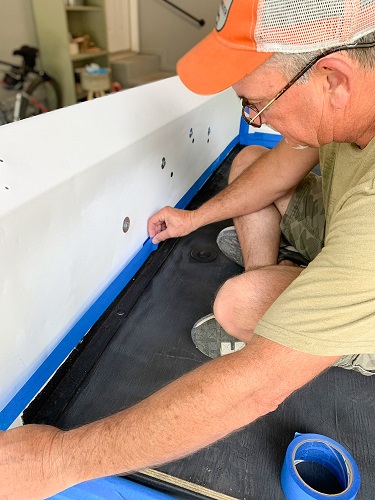
The truck bed is made of plywood and it was painted black to give it a base coat before adding the liner.
This step was not necessary for the project, but something that my husband did a few weeks beforehand.
Using blue painter’s tape, he taped off the top of the plywood to make sure the liner didn’t go up on the sides of the truck.
He only wanted it on the floor of the truck bed.
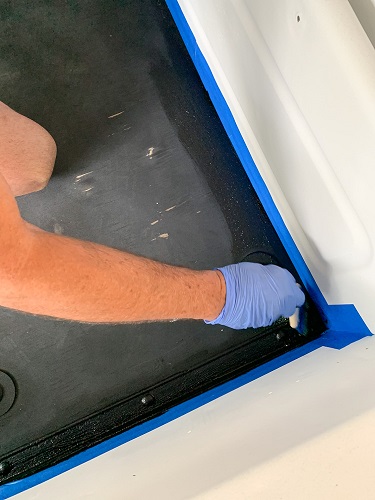
To make sure he got the paint in the corners good, he used a foam brush to paint the mixture into the corners before using the paint roller on the rest of the bed.
The Rust-Oleum Truck Bed Professional Liner Kit consists of a two-part epoxy with Cross Linking Technology designed for maximum protection and an easy application. Read all about it here.
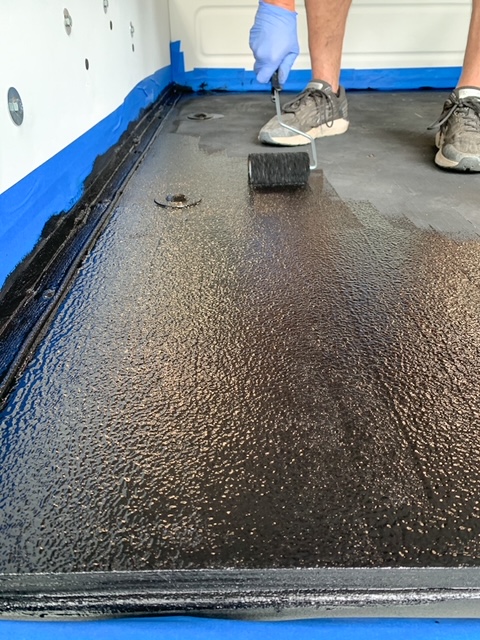
One coat was rolled on and allowed to dry.
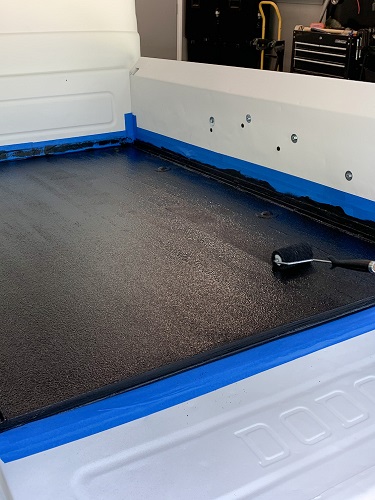
Then a second coat was done.
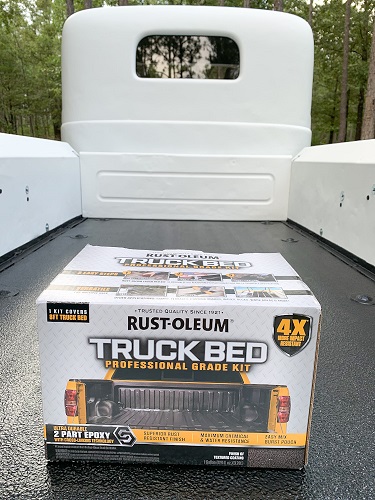
We love how our truck bed liner turned out and highly recommend this diy truck bed liner kit.
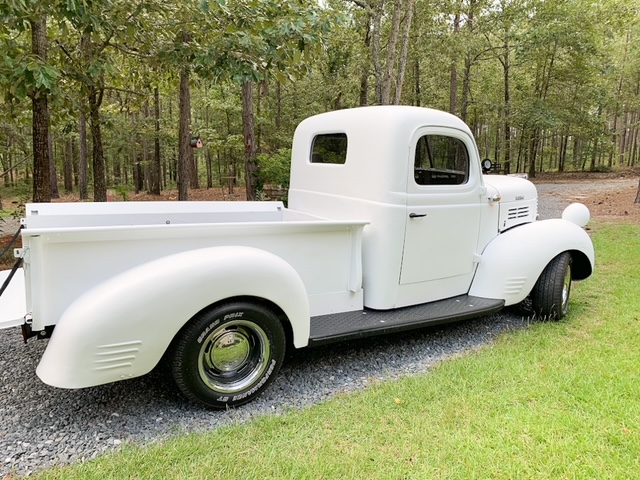
There’s just a few little things to be added to the outside of “Big Al” and then the interior will be completed.

But even with a few little diys left to do on this truck, it’s still winning awards at vintage car shows.
I’ll be sure to give you a complete update here on the blog when it’s completely done 🙂
Pin this image for later, and come pin along with me HERE.
