
How to Frame a Builder Grade Bathroom Mirror
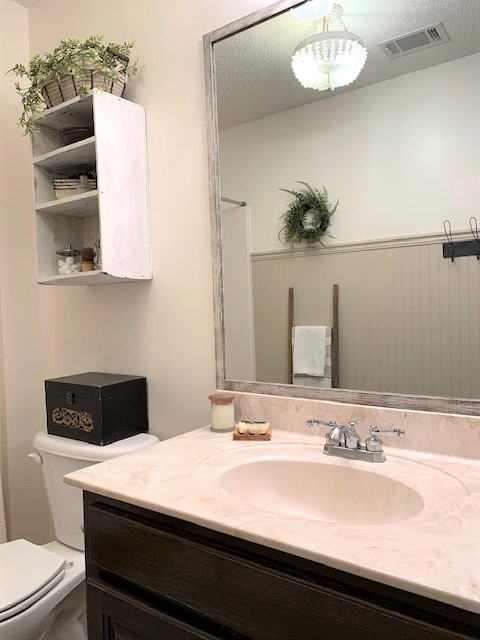
It’s not uncommon for new homes to have builder-grade bathroom mirrors without frames. Although there are magnetic frames available for purchase, they come at a high price. Not wanting to spend that much money on this project, we opted to make our own.

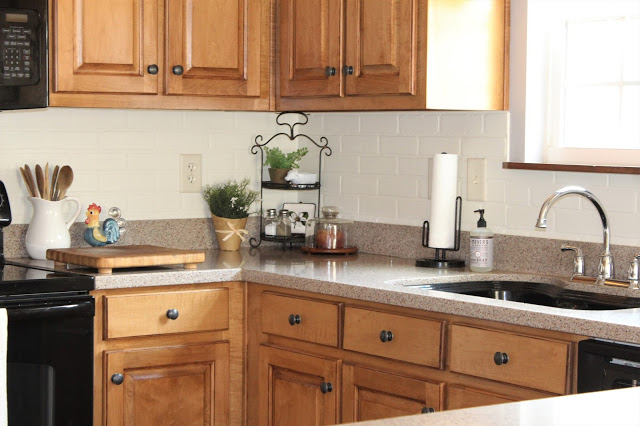
Because of the location of the mirror to the wall, there wasn’t much space for a very wide frame. But that’s the beauty of a DIY project….you can personalize it to your space.
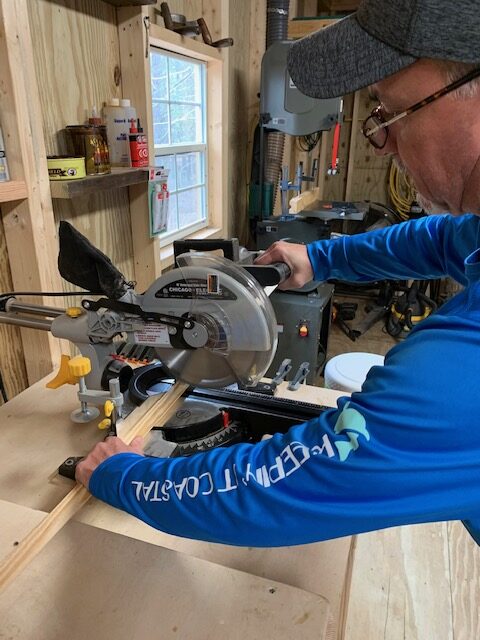
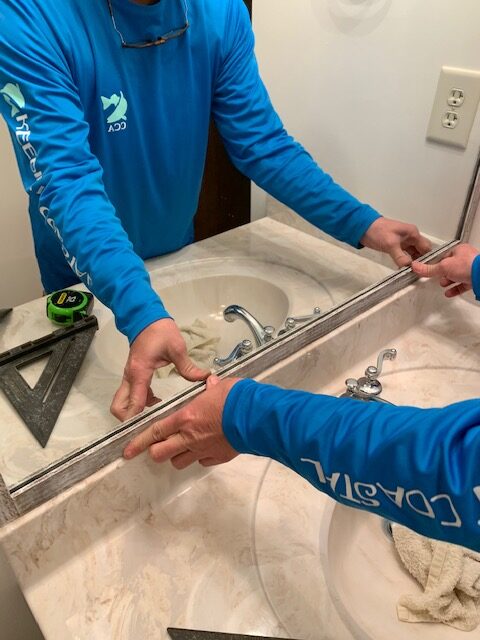
After taking measurements, we cut the trim at the correct lengths.
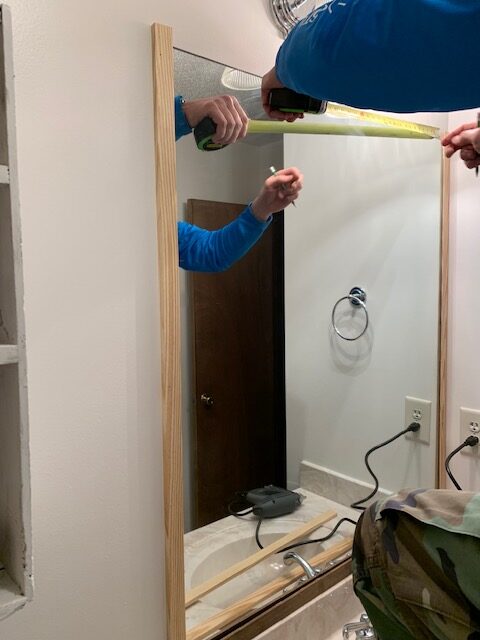
Before painting and applying to the wall, we put the pieces in place to make sure they would fit. Instead of cutting the corners at angles, we opted to keep the frame super simple. If you look closely at the photo above, you can see we made the sides longer in length. The top and bottom piece were measured to fit snugly inside the other two pieces.
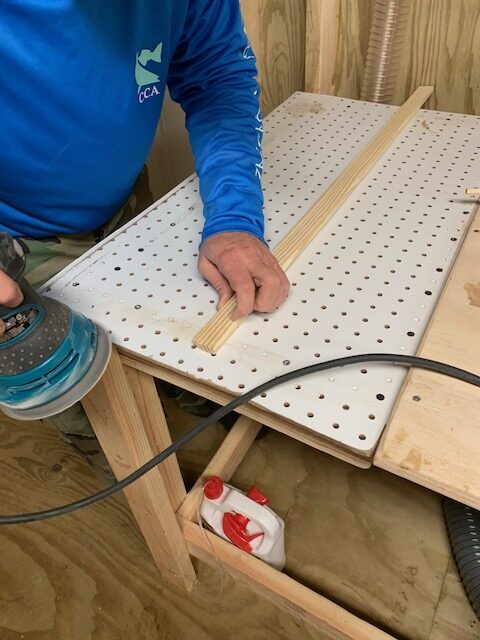
After making sure the measurements were correct, we sanded the pieces to ensure there were no rough edges. Then I started the staining/painting process.
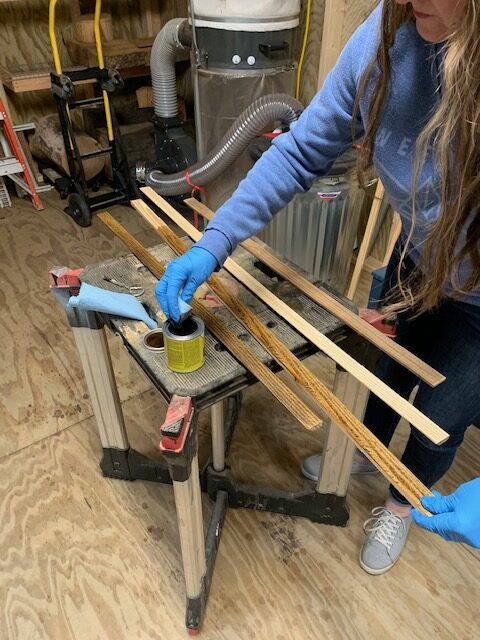
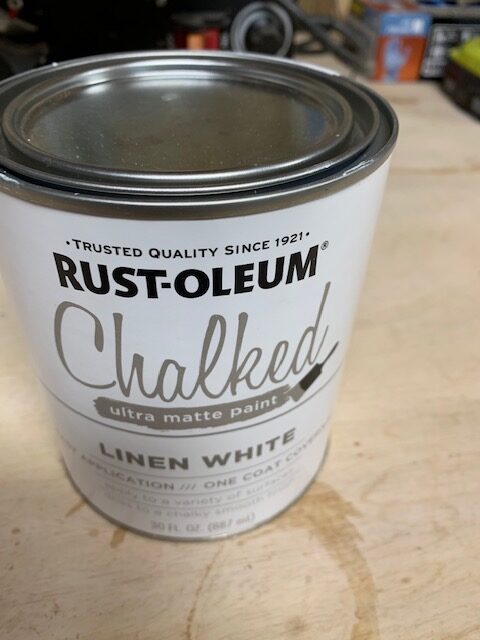
I wanted the frame to have a weathered look, so I used a combination of stain and chalk paint.
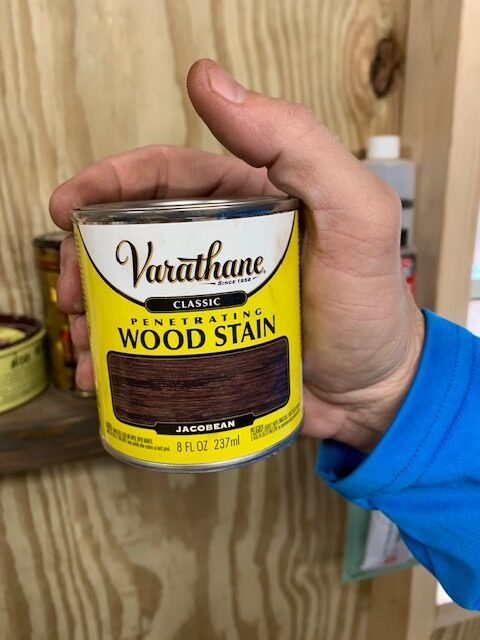
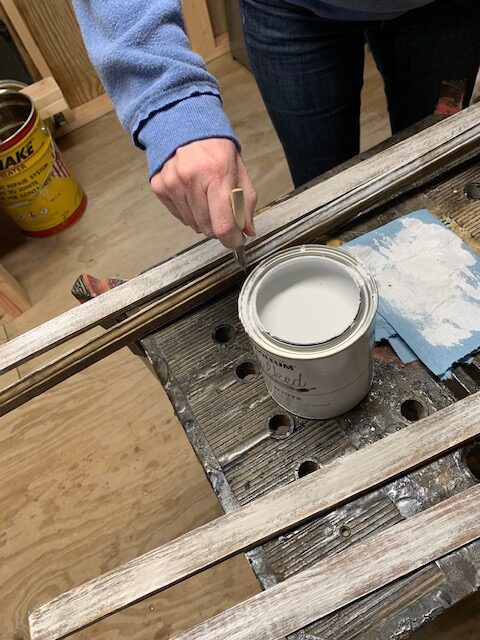
When you apply chalk paint lightly over stain, the wood takes on an aged, or weathered appearance.
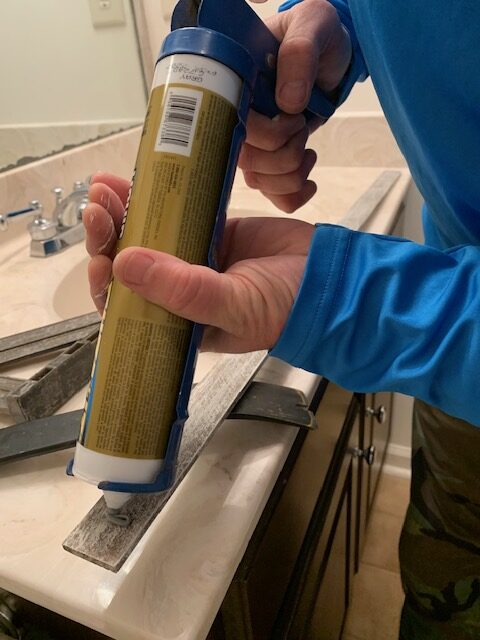
To attach the frame to the wall, we applied adhesive and then securely attached with a nail gun. I need to point out that the top and sides of the frame were attached directly to the wall, not the mirror. The bottom piece; however; had to be attached on top of the mirror since the mirror had been installed almost directly on top of the back splash. But it all fit nicely together with no problems.
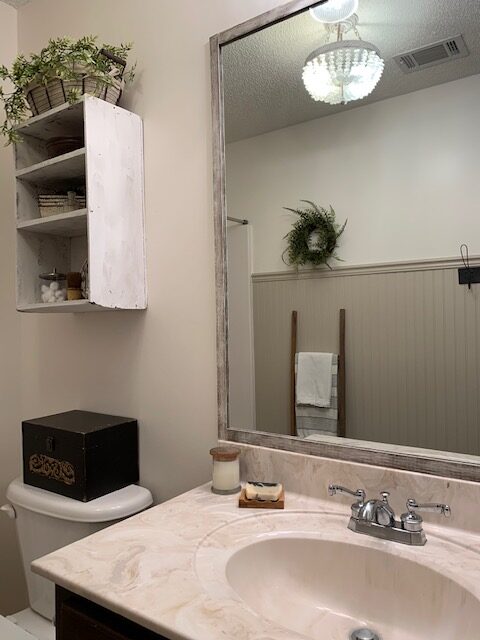
And there you have it! A super simple DIY project that is budget friendly and can be done in a day.
Let me know if you have any questions!


This turned out beautiful. So did you glue to the mirror? Or the wall? I am thinking it was the mirror because there was no wall space at the bottom. If so. .then do the sides at the left and right stick out away from the wall? Sorry for so many questions….just really want to try this. Thank you
It’s actually glued to the wall except for the very bottom. The glass on the bottom was almost already touching the back splash. The trim had a little bit of a lip to it so it set nice and snug next to the mirror on the other sides.
Please don’t apologize about the questions. I’m so glad to help and actually need to edit the post to make that more clear. I’ll do a closeup of it in stories later today and tag you so you can see it 🙂