
How to hang bead board paneling for a cottage bathroom

Updating a guest bathroom to add an extra layer of cottage appeal is as simple as adding a bead board wall treatment.
Even after updating my guest bathroom in recent years, (click here to see that), it still felt a little cold and uninviting. Always ready for a simple DIY project that won’t break the bank, I opted to add bead board to the main wall of this space.
Here are the steps I took to complete this cottage inspired DIY project on a budget:
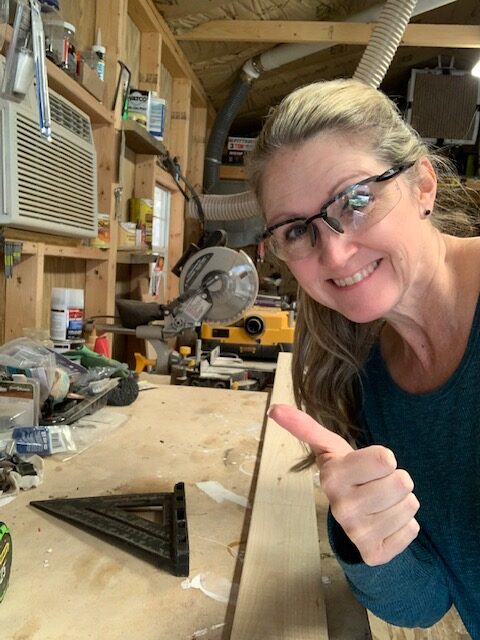
- After removing everything from the wall, (towel bar and decor) I wiped down the entire wall to remove any dust. Then I took my measurements to help me make an accurate list of the materials I would need to purchase for the job.
- For this DIY, I needed 2 ½ sheets of bead board, a 9 ft. piece of wall trim, paintable caulk, and paint. For projects like this, you also need painters tape, a good trim paint brush, paint tray, paint roller frame, and a roller for the type surface you are painting. I also purchased a couple of decorative accessories to update the space, but I always “shop” my home first and use what I have on hand.

The bead board I used in this project is available at Home Depot.

- I did some browsing on the internet and found that there is no single standard height for bead board in a bathroom. The typical height for this wall treatment is 38 – 42 inches, but I chose to run mine up a little higher on the wall. The vertical stripe of the board design draws the eye up and makes the 8 foot ceiling appear higher, which lends a more spacious feel to the space. The already white walls make this small, windowless bathroom feel much bigger than it really is.

- After cutting the board with a skill saw, I attached it to the wall with a nail gun. And just like that, the hardest part of the job was done!

- I puttied and sanded all the nail holes and caulked the edges with a white paintable caulk. Then it was time for paint.


- When choosing a paint color for this wall treatment, I wanted a contrast to the already white walls. Nothing too bold, but a warmer tone to make the space feel a little more warm and cozy for my guests.

- I found the perfect color in Creamy Mushroom by Behr. One quart, and the painting was complete.

- The top trim piece was painted in this color as well. After touching up the nail holes, it was time to add my décor back to the space.
A new overhead light fixture adds to the charm of this tiny guest bath. The distressed white finish and clear frosted glass accents are a perfect choice for cottage style.

This light fixture is available at Lowe’s.

To add another layer of cozy cottage to this space, I did another small DIY project. I made a tub tray from a piece of wood we had on hand. I sanded and stained the wood with a Varathane Classic wood stain and attached vintage handles we had on hand.


Now my guest bath is warm and inviting and reflects the cozy cottage style I love so much.


Be sure to pin this project for later


Beautiful! I love beadboard and I’m even thinking on adding it to our powder room. Timeless decor.
Thank you so much! It was such a fun project!
I had thought of using bead board in my guest bathroom so I was glad to run across your article explaining how you added it to your guest bathroom. Thank you.
So glad you found it helpful!
Hi there,
How high did you go with the bead board? You’ve inspired me to do this to my bathroom!
Thank you so much! I went up 55″ from the top of the baseboard and then added a trim piece on top to finish it out.
Looks warm and inviting , wonderful job !
We have a man coming to do our bathroom with bead board and to replace our old 1980’s ceramic flooring with vinyl plank flooring , Can’t wait ! I hope it turns out as lovely as yours .
Thank you so much! You will love the bead board! It’s one of my favorite projects to date 🙂
What color did you use for the rest of the walls?
My favorite white paint called Whisper White from Behr 😉
It looks like you ran your beadboard up to your existing trim, or did you go behind? Thanks!!
We actually added the trim above the bead board after it was installed. It wasn’t there before.
This turned out amazing!!! I would love to recreate this in our dining room. We are doing some kitchen cabinet refacing next week, but this might just have to be our next home project. Thanks so much for sharing your beautiful home!
Thank you so much! I’m so glad you stopped by! I love how my little bathroom turned out 🙂