DIY Coat Rack Wall
I’m always on the lookout for ways to improve spaces in my home.
Sometimes it’s a better way to organize an area, but more often, it’s an idea to make a space prettier and more functional.
I had this idea for our tiny back entrance that I’ve wanted to do for a while.
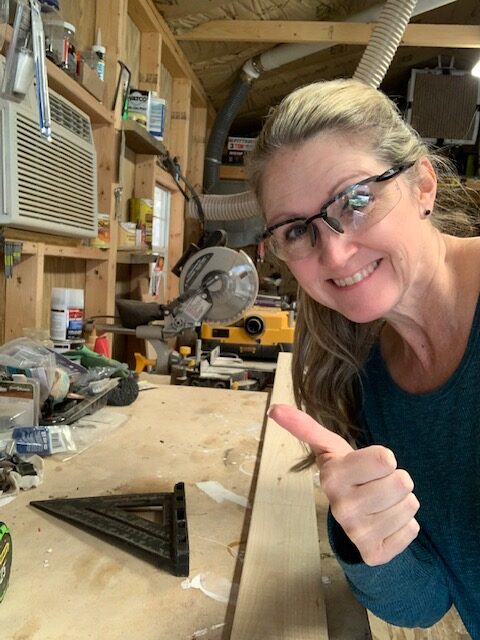
So….I asked for my own power tools for Christmas and this became my first solo DIY project.
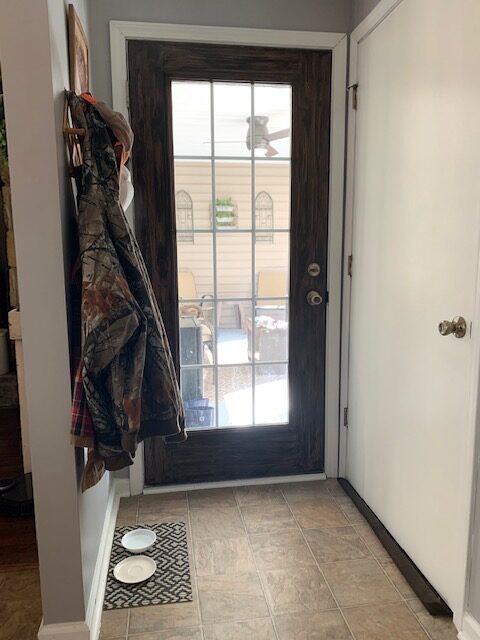
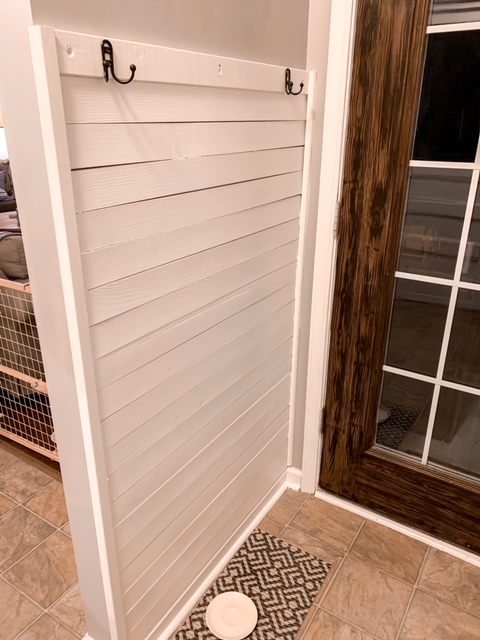
Let’s take a look at how this space looked before.
It was sorta functional, but hats and coats were all hung on the same peg rack and would often times be on top of one another, which caused them to fall.
I looked around the house at supplies I had on hand and found some left over peel and stick wall boards I had saved from my Timberwall project in the dining room. This gave me an idea and I came up with the perfect solution to make this space not only look better, but function better for my family.
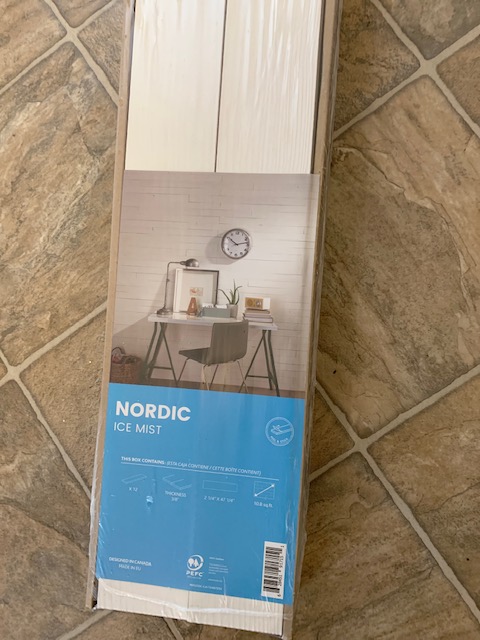
Use Peel and Stick Boards to Transform a Blank Wall
Peel and stick wall boards are so easy to use. After you remove the paper adhesive from the back of the board, you simply align it to the wall and press it on to the wall surface, holding for a few seconds to ensure it sticks. Of course, you need to also make sure your wall surface is clean and dust free.
The hardest part of this project for me was cutting the boards the needed length. That’s because this was my first time using a saw on my own. I used my new reciprocating saw from Hart Tools and caught on pretty quick. Fortunately for this project, they all needed to be basically the same length.
I’d also be adding trim pieces to the edges and a 1 x 3 to the top for hooks to give it a finished look. And let’s not forget that caulk is your best friend!
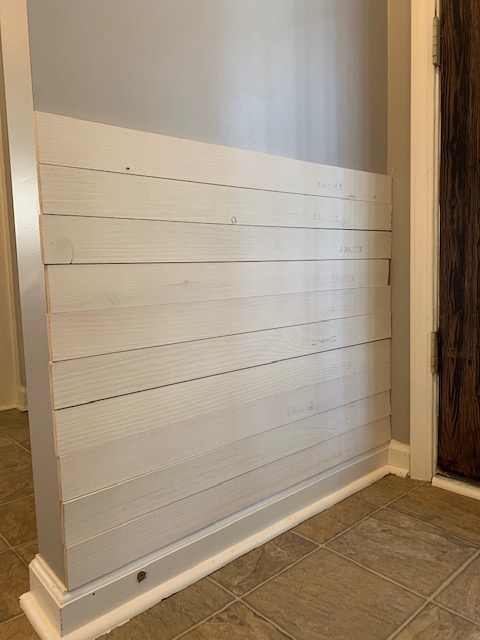
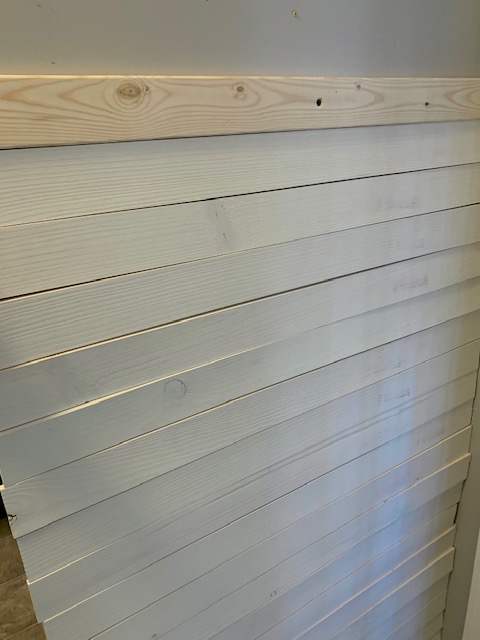
I started with the bottom board and worked my way up. I used a level to make sure my first few boards were level as I went up and before I knew it, I was a little over half way up the wall.
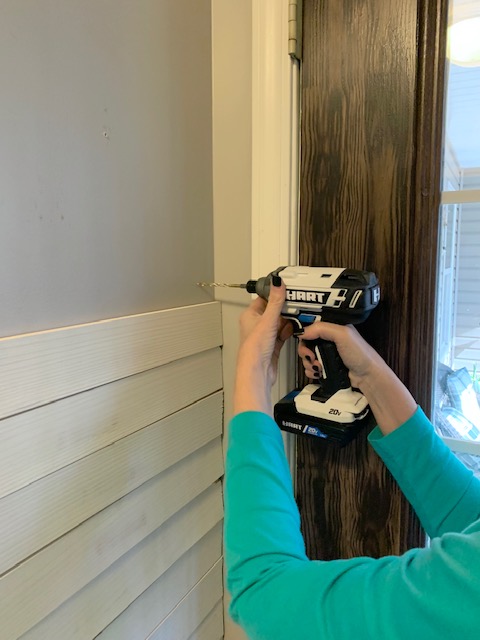
I wanted the top of the boards to stop at a typical “board and batten” height, a little over half way up the wall. Next, I drilled pilot holes so I could use anchors to secure the board that would hold the iron hooks.
This way, I could be certain that the hooks could hold the weight of multiple coats.
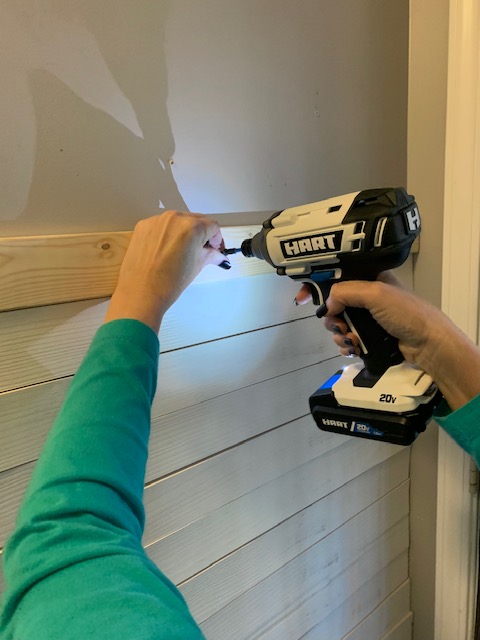
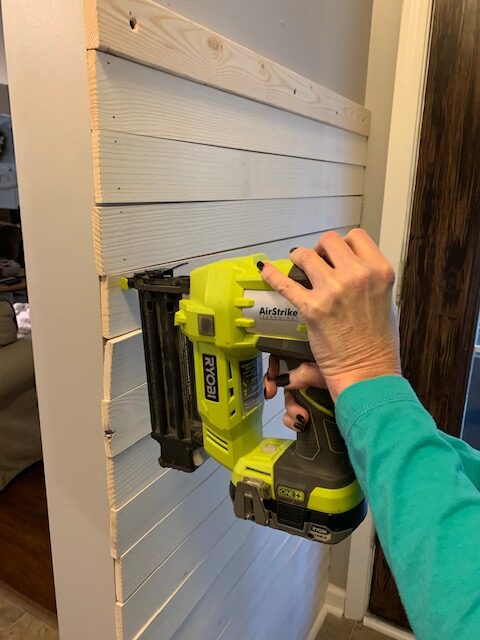
Because walls will never be perfectly square, sometimes peel and stick boards do not stay in place as they should. Because of this, I chose to use a nail gun to secure them.
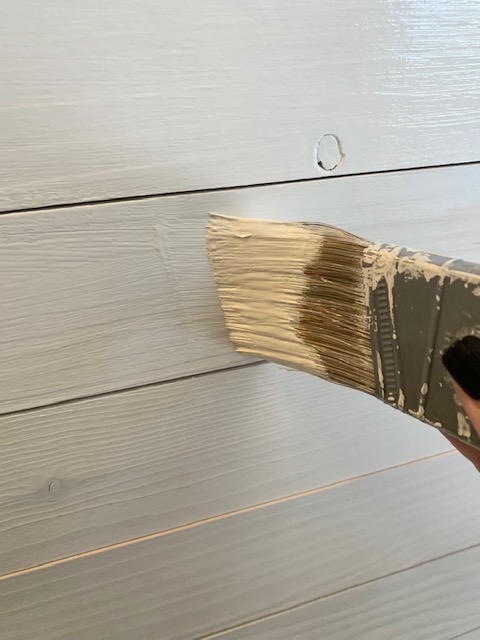
After that, it was time to paint the boards. I used my favorite white paint, Whisper White by Behr in a satin finish.
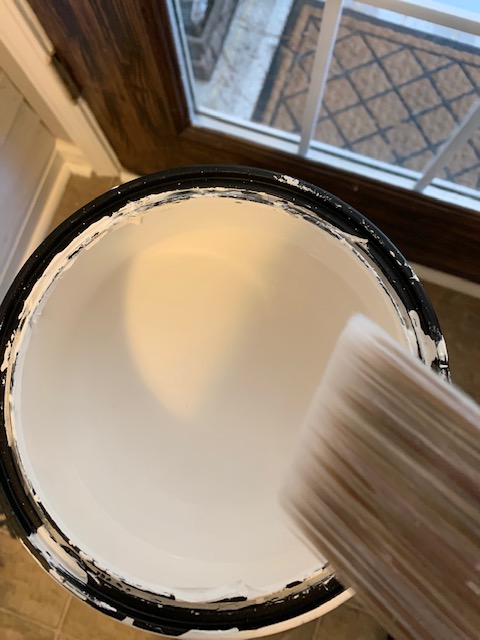
Using a brush, I gave the boards a couple of coats of paint and allowed them to dry.
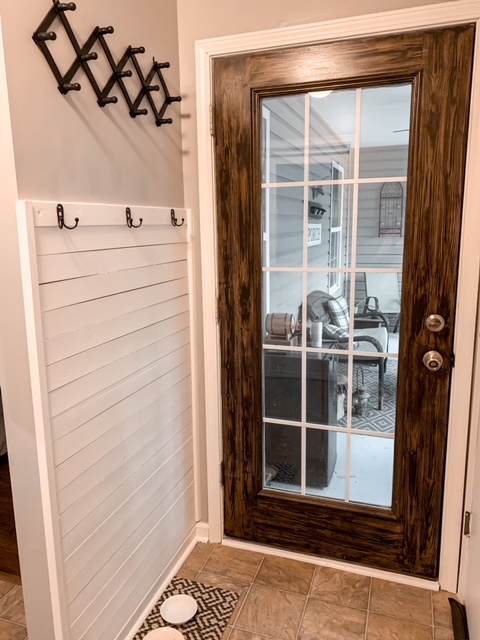
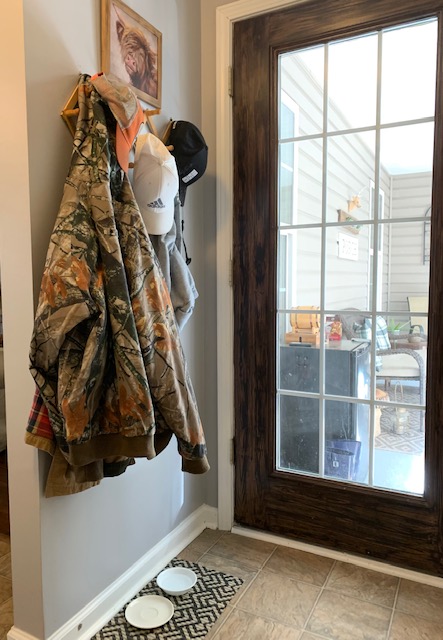
Two corner trim pieces were cut for the sides and painted as well. Then I caulked the edges and put the black iron hooks in place. I found my hooks at Walmart and loved the fact that these provided a place to hang two jackets each.
I didn’t want to make the same mistake as before and try to hang hats on top of coats, so I used the same peg rack that was on the wall before. I just gave it a quick coat of Rust-Oleum flat black spray paint to match the coat hooks and hung it high enough so that the hats wouldn’t touch any coats.
My First Solo DIY Project
And that was it! Such a quick and easy project that can be completed on any weekend….even in one day.
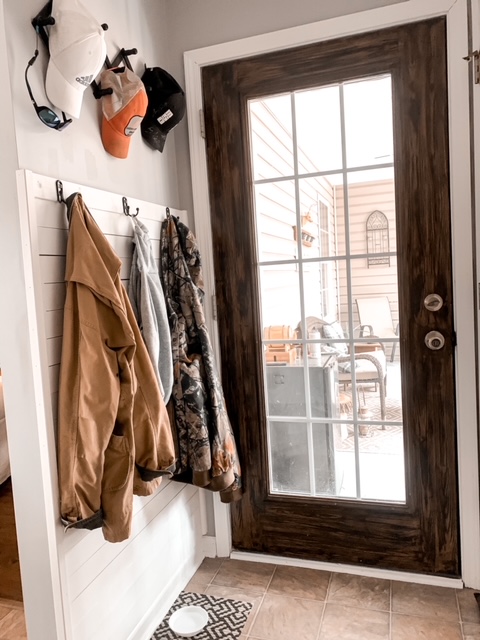
Now we have a much prettier and more functional space for the many coats and hats that always end up in the kitchen.
I hope you’ve enjoyed seeing my first solo DIY project. But I’ve got some good news for you! Todays is our monthly “It’s Good to be Home” Blog Hop.
Be sure to visit each of the links below to see the other fun ideas my friends are sharing.
JENRON DESIGNS/ Robyn’s Southern Nest/ At Home in the Wildwood
Lynn I love this sweet little DIY dropzone coat rack you added it is perfect and stylish at the same time. A total win win for organization!
Thanks, Jen! It feels good to know I can use power tools lol!
Congrats on your first solo diy!! You did an amazing job and I love how it looks!
Thank you, Becky! I’m pretty excited about it 🙂
Oh My WORD – I just LOVE the way that it came out and how great it looks! Bravo my friend!
Thanks, Emily! I’m super happy with how it turned out….especially for my first time doing a solo DIY project 🙂
Such a great idea! I love how functional it is!
Thanks, Robyn. I’m loving it so much 🙂
You did a great job, Lynn. It looks beautiful! I’d love to share a link to your DIY in my week in rewind recap post this weekend.
Thank you so much Jen! That would be great!