DIY Faux Brick Backsplash
My kitchen cabinets have been painted since then.
It’s always been easy for me to decorate my home with the things I love, but when it comes to choosing more permanent or expensive decorative elements like lighting or a kitchen backsplash, that’s a different story! Some of those decisions can take me a while! In my defense, part of the problem in my kitchen is that my maple cabinets were not stained with the color I chose. It’s close, but NOT the correct stain. I should have gone to the cabinet shop to check on them, but really didn’t think it would be a problem. So…. the cabinets were already installed when I arrived at the house that particular day, so what does one do? I just decided to go with it, thinking I might be brave and change it one day.
Herein likes the problem…. I didn’t want a stain too dark or too light and I also didn’t want orange/red tones at all. So, to keep this particular stain from being too warm, I had to be careful with what I chose to use for a backsplash if I was going to cover the whole area under the cabinets. After much debate and research, I chose what I feel is the perfect white to lighten up the space. It’s not stark white, nor is it too creamy. Also, I wanted texture on the wall to add character to my cottage/farmhouse style kitchen.
One option I thought about was subway tile. It is beautiful and I love the farmhouse vibe it gives a space, but it is pricey. Plus, it might not be the perfect shade of white. I love stone as well, but decided I needed something very light to not only help with the wood tone, but lighten the room overall. I can’t take credit for deciding on this faux brick because I actually saw another blogger doing this on her Instagram stories (Emily Everyday Co). That’s when I knew this would be perfect for my kitchen. This project not only is affordable, but it adds character to the space and also gives me control of the actual color. Here’s how we did it………..
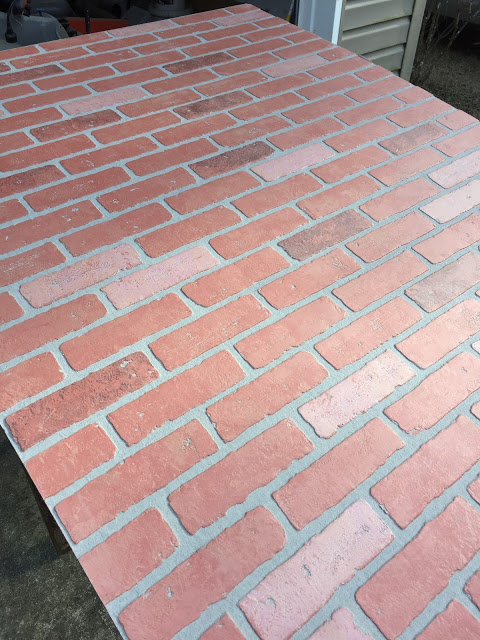
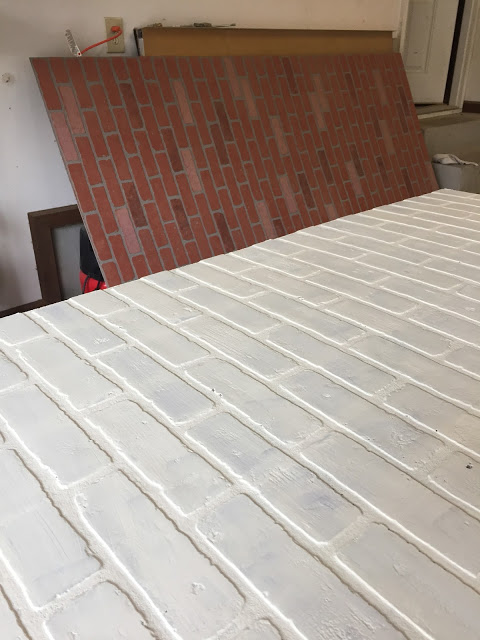
We chose this faux brick panel from Home Depot. There’s a similar one available at Lowe’s as well with a darker grout line.
Now let’s talk about paint for a moment. I had the ideal shade of white in mind already. It’s one that I’ve used many times in my home and had already painted my open shelving with it in the kitchen. From what I could tell, it would tone down the warmness of the cabinets enough that I might not even want to redo them. That would be great, wouldn’t it? I’ve got enough projects on my to do list as it is!
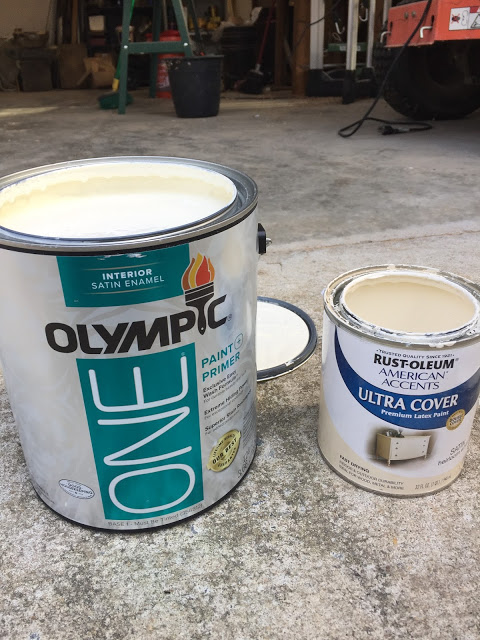
My go-to color is Heriloom White in Satin by Rustoleum. You can see what the can looks like above (right side). The problem was that I couldn’t find a can of it ANYWHERE! The stores had plenty of spray paint, but I needed to paint with a brush to get good coverage on the grooves in the faux brick.
Because I waited until the day before we were doing this project to pick up the paint, I was in a panic. Luckily, I had the idea to search for a similar paint color and ran across a blog Ella Claire Inspired that recommended a “Cake Batter” formula from Lowe’s. You can tell from this picture below that the colors look so much alike. Hallelujah! Problem solved 👇
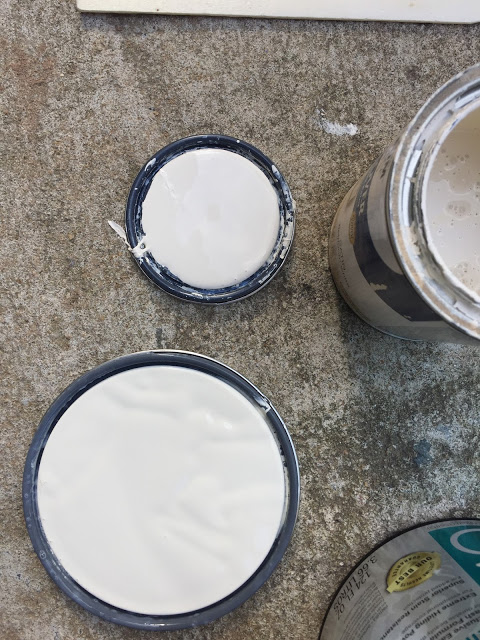
With a screenshot of the formula on my phone to show the paint guy in Lowe’s, he had it mixed up in a matter of minutes and I was on my way. One gallon of paint was $28.87 .

We didn’t have to prime the wall board before painting. It just needed a couple of coats. So that saved us some extra time and money on this project as well.
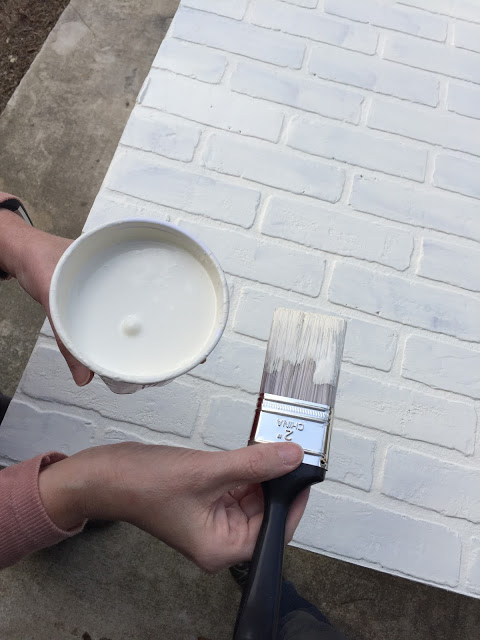
I love painting with satin paint. It brushes on very well and also provides easy cleanup with a wet cloth.

The sheets are 1/4″ x 4 ‘x 8’ in size. We thought we’d need two for sure but purchased three just in case. We actually on needed about 1 1/2. The cost per sheet was $25.97.
My sweet father-in-law came over to help the Mister with this project. It’s always good to have a second set of eyes when you’re doing that much measuring and cutting. I am of no use in that department lol 😊
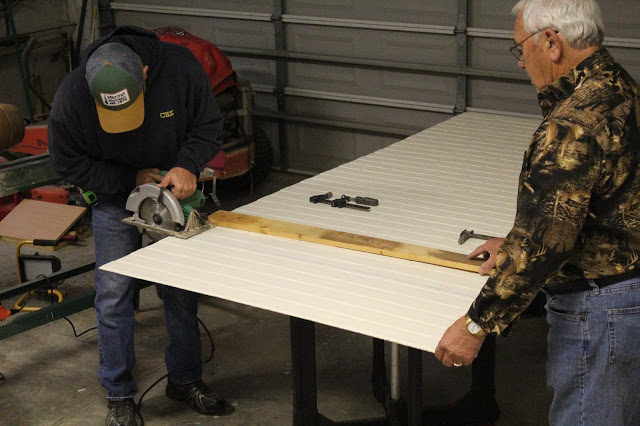
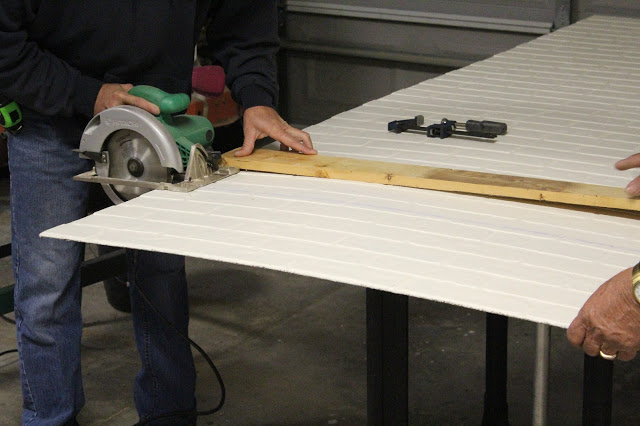
We started on the far end of the cabinets and worked our way around. I’ve seen people do backsplashes that extend out past the end cabinet, but I chose to keep it directly in line with the upper cabinets.
I’m laughing looking at this picture right now because of the large pot on the stove lol! But once they had this section done, I was easily able to whip up a pot of chicken chili for the hard workers to enjoy for lunch 🙂
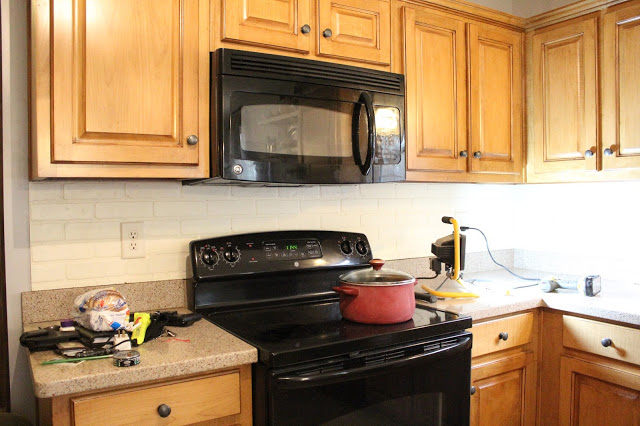
The lighting is not great in this photo below, but here you can see how they decided to section it off to make the cutting a little easier around the window. Also, we didn’t have to use glue to hold the wallboard in place. A nail gun is all you need.
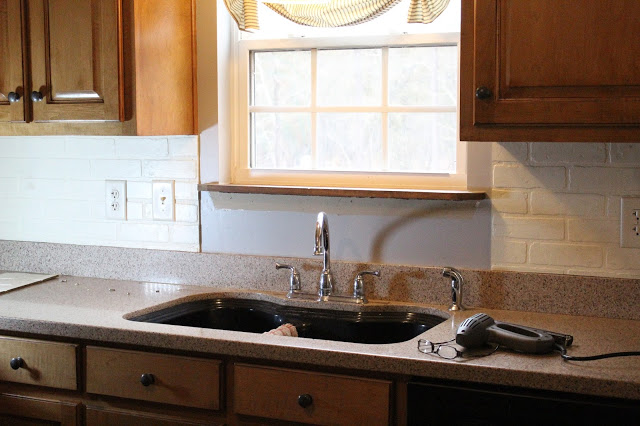
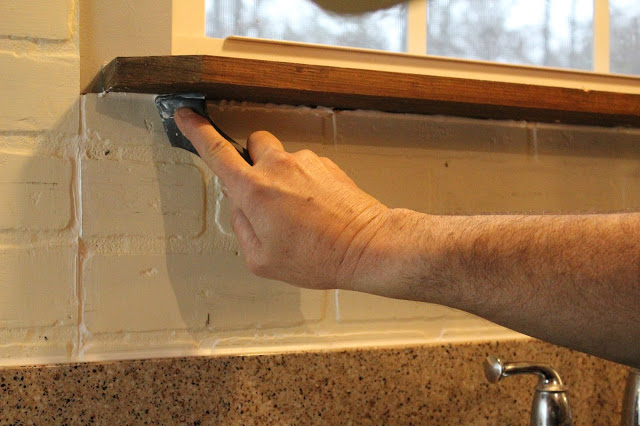
After the boards were all nailed in place, we just used a caulk gun to go around the edges to give it a clean line. I also didn’t have to replace my outlet covers. They were an almond color and blended in with the paint color very well.
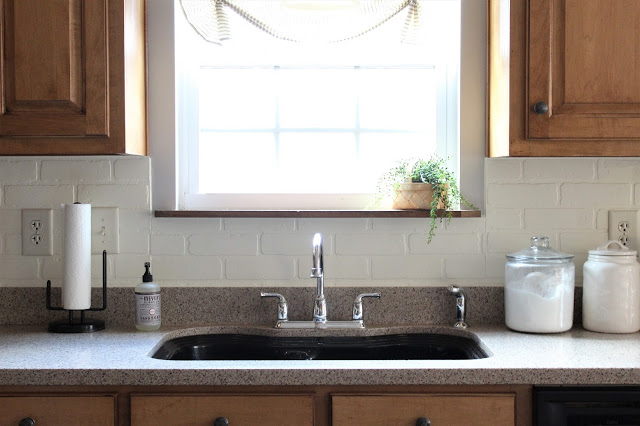
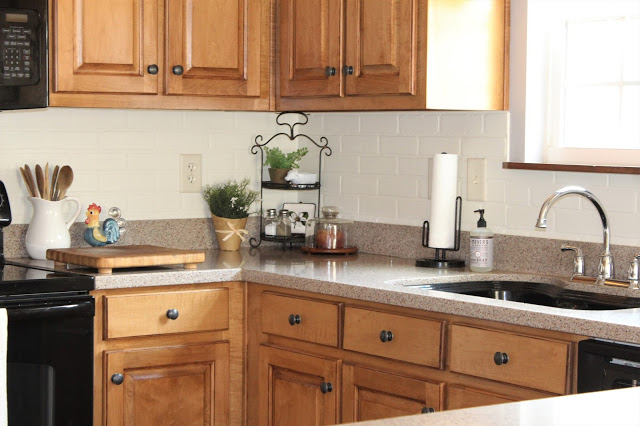
So here is the finished product. Of course, I’ve already redecorated the space since then…..what’s new?…..but I’m so pleased with how it turned out!
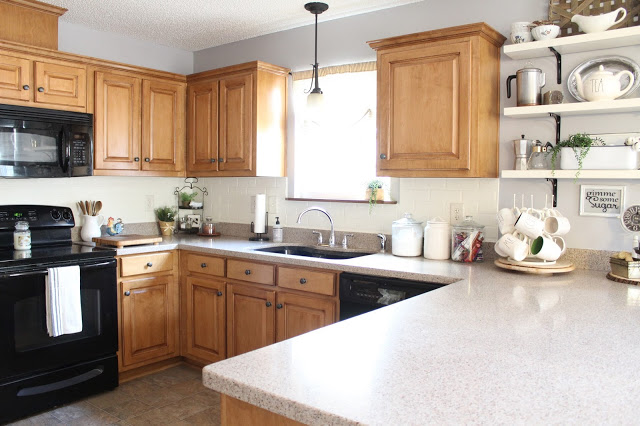
We also added the backsplash to the coffee bar on the other side of the kitchen where we have cabinets. The entire room is so much lighter and finally has the character I felt it needed. And guess what? I’m even happy with the color of the maple cabinets now! It’s amazing how much one project can change the look of an entire room!

So if you’re like me and would like to add an attractive, affordable backsplash to your kitchen or bath, I highly recommend using this faux brick wallboard. I adore the look of painted brick and the character and charm it adds to any space. The total amount spent on this project was under $100.00 and done in one day.
I was honored to have this post shared on the website Top Reveal. If you’re interested in seeing more ideas to give your kitchen a custom look, be sure to check out the following article, Fabulous DIY Kitchen Cabinet and Shelf Ideas to Give Your Space a Custom Look. I’ve already spotted a few I’d love to implement next!


I have looked and thoght about this idea when I have seen other post about it,but your post has me doing instead of thinking. So thank you.
If you answerquestions..I’d like your opinion. My cabinets are Deep Navy lowers and white uppers, walls are also white. would you mind sharing what colors you feel would look good for the brick backsplash?