
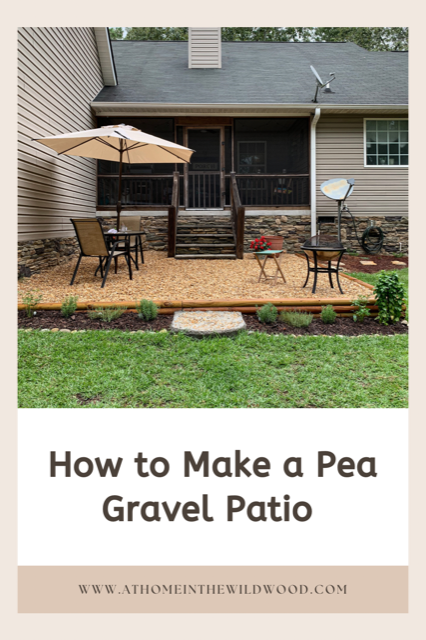
How to Make a Pea Gravel Patio
Hey, y’all! Today I’m super excited to be joining some of my sweet blogger friends for “Welcome Home Saturday”, a weekly decor digest full of inspiration.
I cannot tell you how many years I have been wanting to make a pea gravel patio in our back yard.
I knew we needed to complete some rock work on the foundation of our home first, so this project had to wait until that was completed. But this summer we were finally able to get this project done!
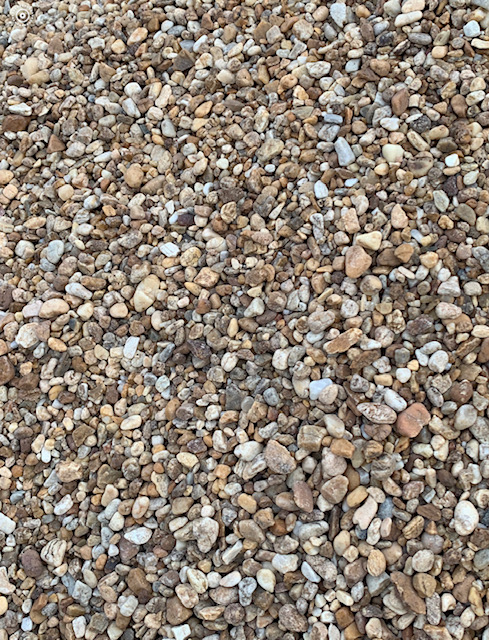
I did not want a traditional concrete poured patio. I wanted the charm of pea gravel, a project that I knew we could DIY ourselves, and save lots of money.
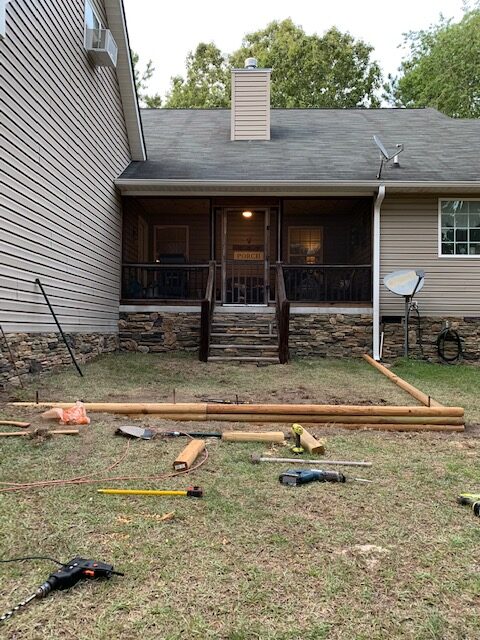
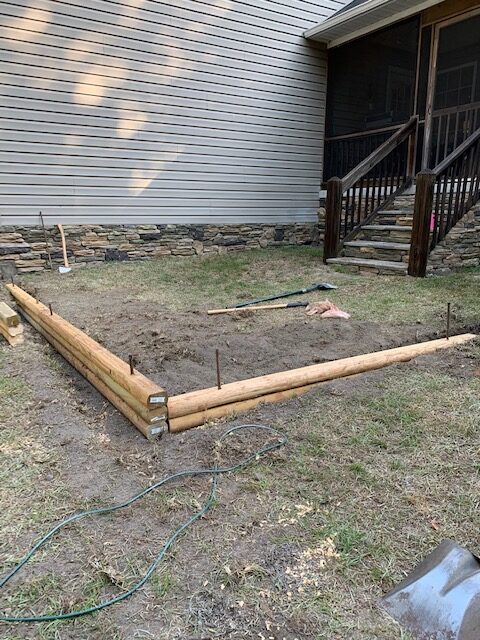
This is a picture of what the back yard looked like before we started the patio project.
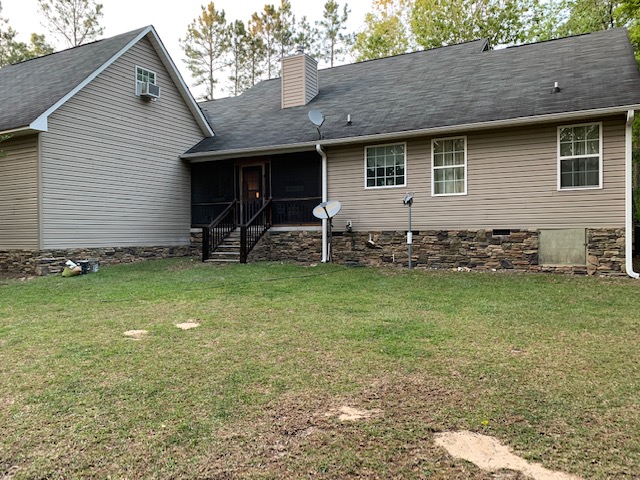
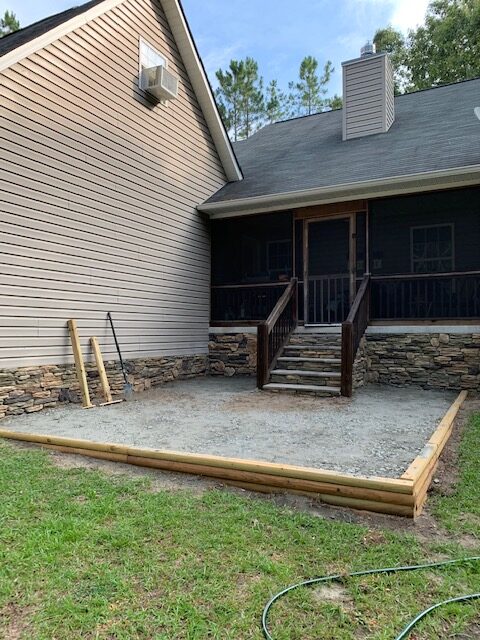
Earlier in the year, we were able to add rock to our home’s foundation.
That project alone made such a difference in how our home looks, especially from the back.

So we finally chose a weekend to get this project done once and for all! Thankfully, we completed it right before the crazy hot temperatures we had here this summer.
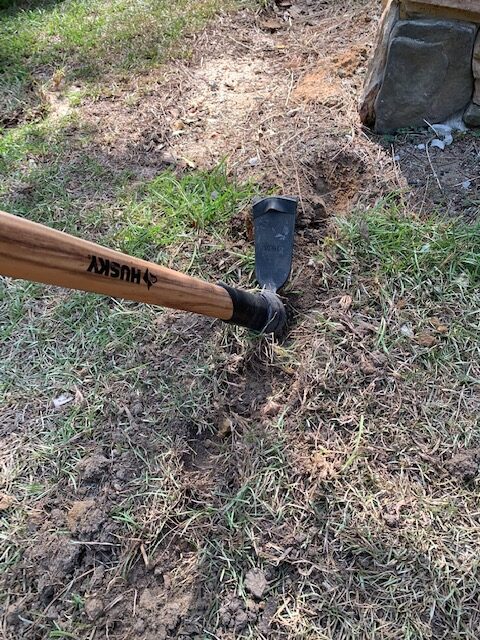
Another reason it took us so long to tackle this project is the manual labor involved. Without the use of a machine to do the trench work, it all had to be done by hand. That’s why it took so long to get the Mister on board with doing this project lol 🙂
Honestly, it really didn’t take long to dig the trenches. No longer than it took, renting a tamper for the digging seemed unnecessary….and we got our exercise in that weekend too lol!
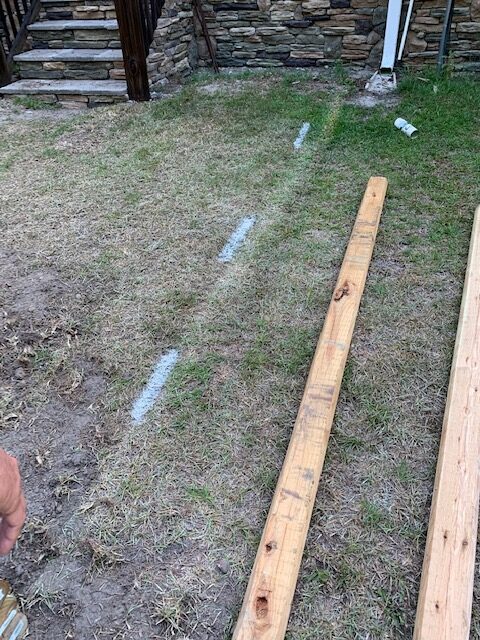
Earlier in the week, we dug up most of the grass in that area with a small tiller we borrowed from my mother-in-law. After that, we loosely laid out the design of the patio.
Because we purchased 8 ft. landscape timbers, there really was not alot of cutting we had to do for this project. The overall size of our patio is around 17 x 17.
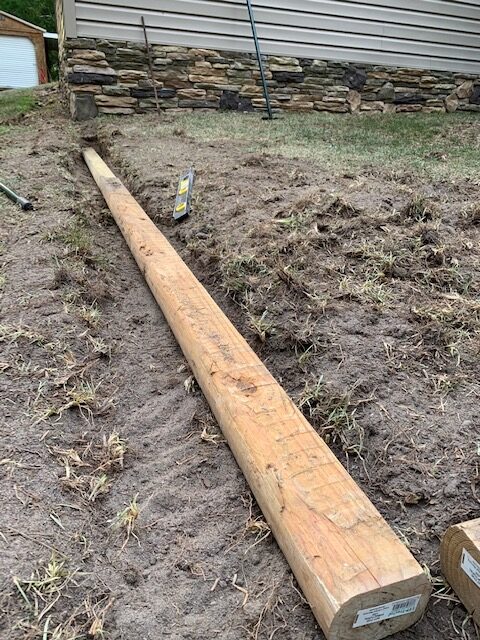
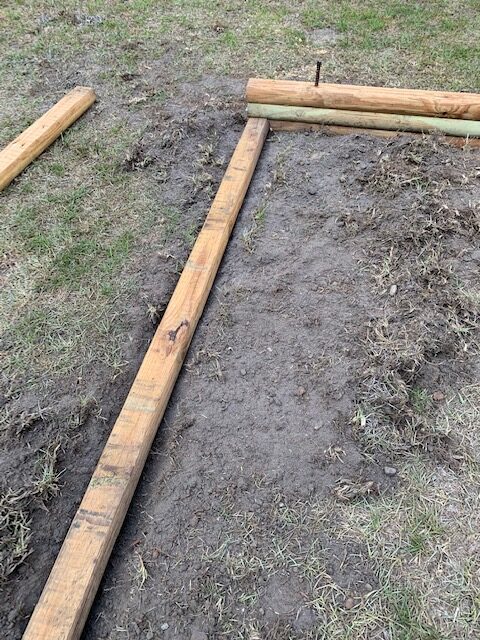
After a trench was done for each side of the patio, we placed the first landscape timbers in the trenches.

This created the actual border for the patio.
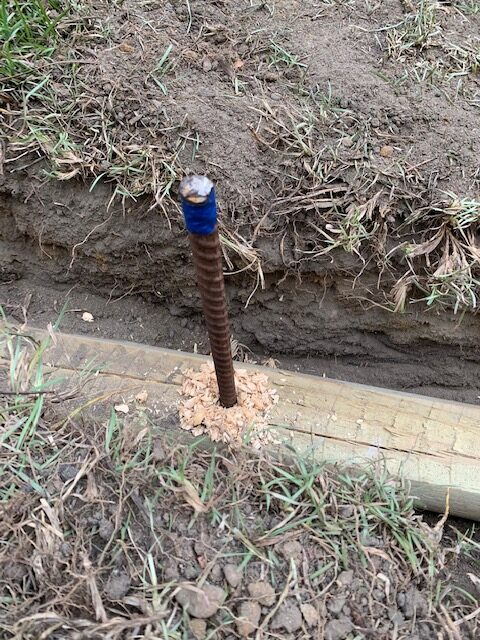
Before adding rebar to hold the bottom timber securely to the ground, we used a level to make sure the landscape timber was level with the bottom of the trench. This step is important to make sure you stay level as you add height to the sides of the patio.
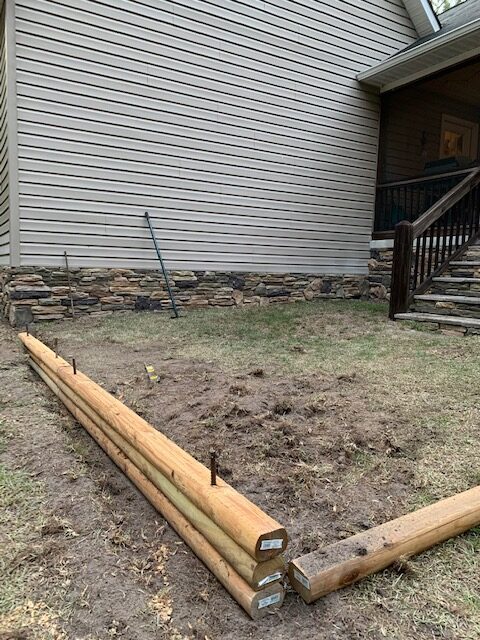
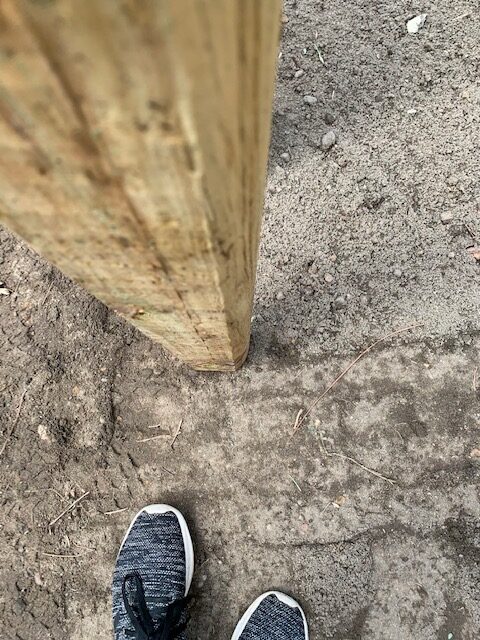
There is a slight slope to our back yard. For drainage purposes, we didn’t change that. To compensate for this, we knew the landscape timbers would have to be dug down further on one end of each side.
You can see from the photo above that the front size of the patio is three-high but the right side ended up only being two-high.
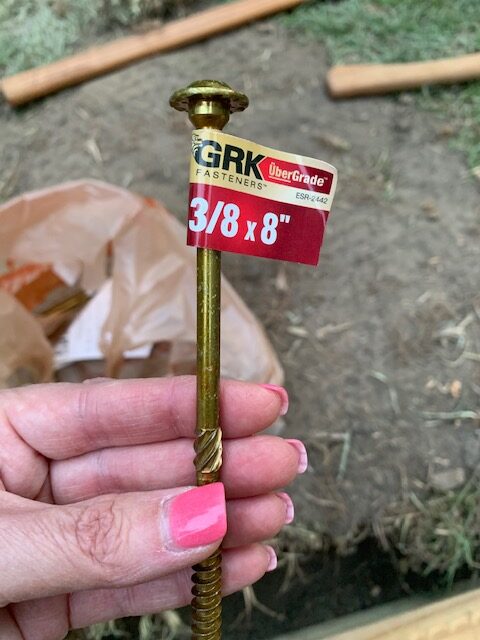
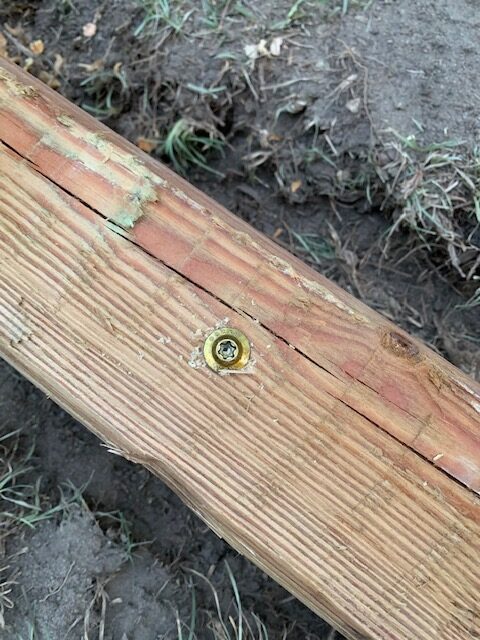
After our landscape timbers were stacked in place on the rebar, we used timber screws to attach the timbers securely together. This is important so that they boards don’t shift when adding the rock.
You also need to make sure the rebar is driven completely into the ground and into the top piece of timber and not sticking up when your done.
After the border of the patio is completed, it’s time to add the layers.
We didn’t have to bring in any extra soil for this project. After tilling the area to remove the grass, we raked the existing soil down a little to help it appear level. As I said before, we left a slight slope to the area to ensure we don’t have any drainage issues on the patio after a hard rain.
Again, instead of bringing in a machine to tamp down the soil and rock, we did it by hand.

Mister created these “hand tampers” with scrap wood and we packed down the dirt the old fashioned way. It’s not a huge area, so it didn’t take long at all with both of using working on it. Plus, we got in an arm workout for the day lol!
We got busy and forgot to put down the landscape fabric first, so we added it on top of the crushed stone. I’m not sure if that will be an issue later, but as long as there is a couple of layers of some type of rock with the weed barrier, we should be fine.
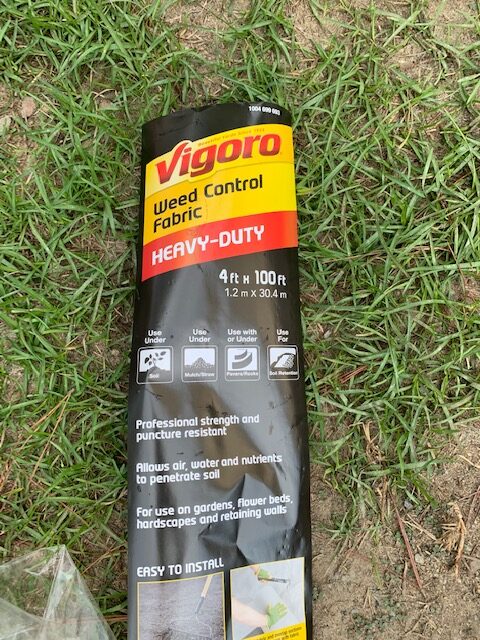
One roll of heavy duty weed control fabric from Home Depot is all we needed to cover the entire area.
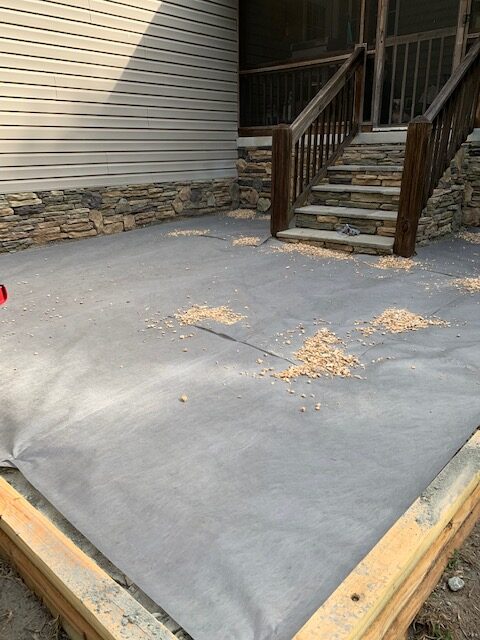
I had purchased a few landscape fabric stakes to hold the fabric in place before adding rock. It worked great and stayed in place as we shoveled the pea gravel onto the area.
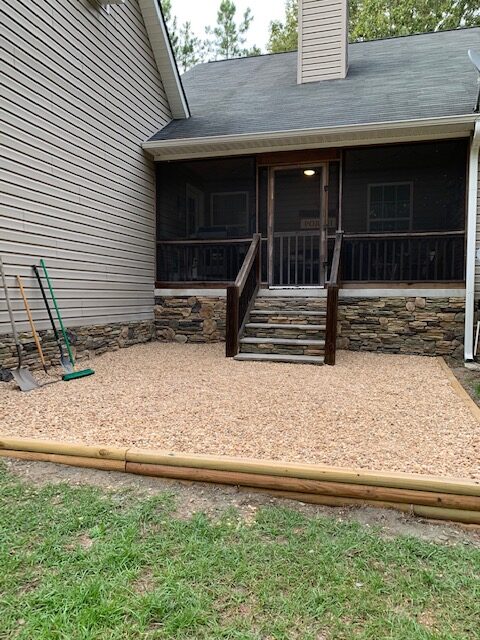
We chose not to stain the landscape timbers because we knew the sun would do that job for us.
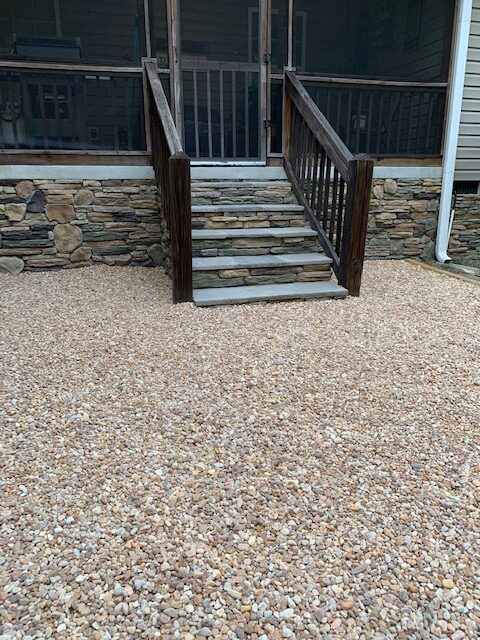
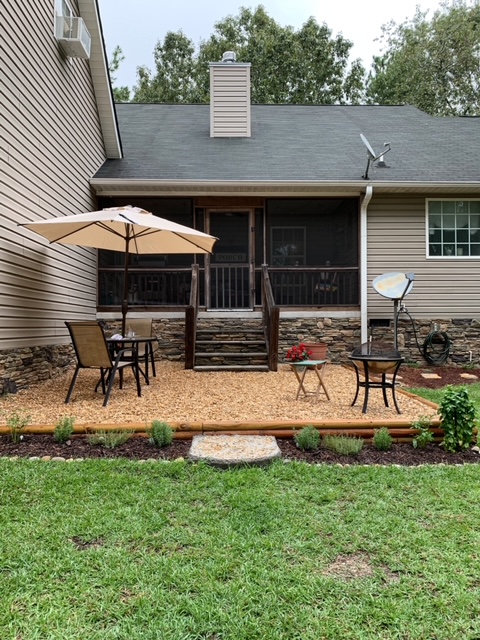
I’m so excited to finally have a patio in our back yard to enjoy!
It’s also been nice for Mister because he can easily cut grass around it and not have to worry about weed eating around the back steps.
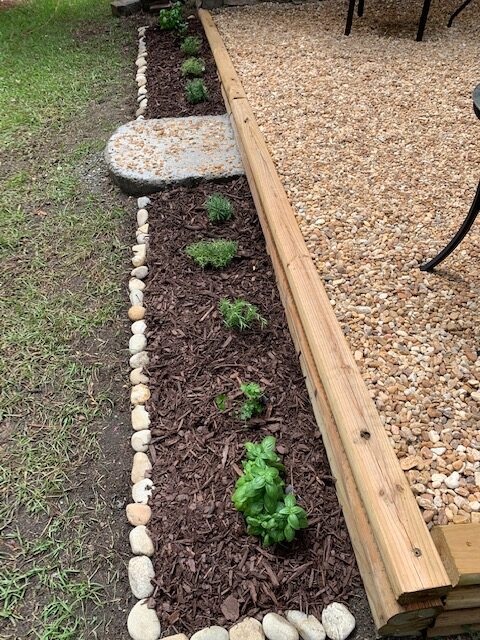
A couple of weeks after we completed the pea gravel patio, I put in a small herb garden.
We even made our own concrete step for this area (I’ll have to share that later).
We have plans to build a small platform on the right side of the patio for a hot tub. Hoping to get that done before cold weather gets here! Won’t that be nice?
Pin Now! Save for Later!
Be sure to keep scrolling for all the great posts for this week’s Welcome Home Saturday!
Welcome Home Saturday

White Arrows Home / Decorating with Sunflowers from Late Summer Into Fall
The Tattered Pew / Beachy Teen Girl Bedroom Ideas On a Budget

She Gave It a Go / Decorating a Living Room Corner
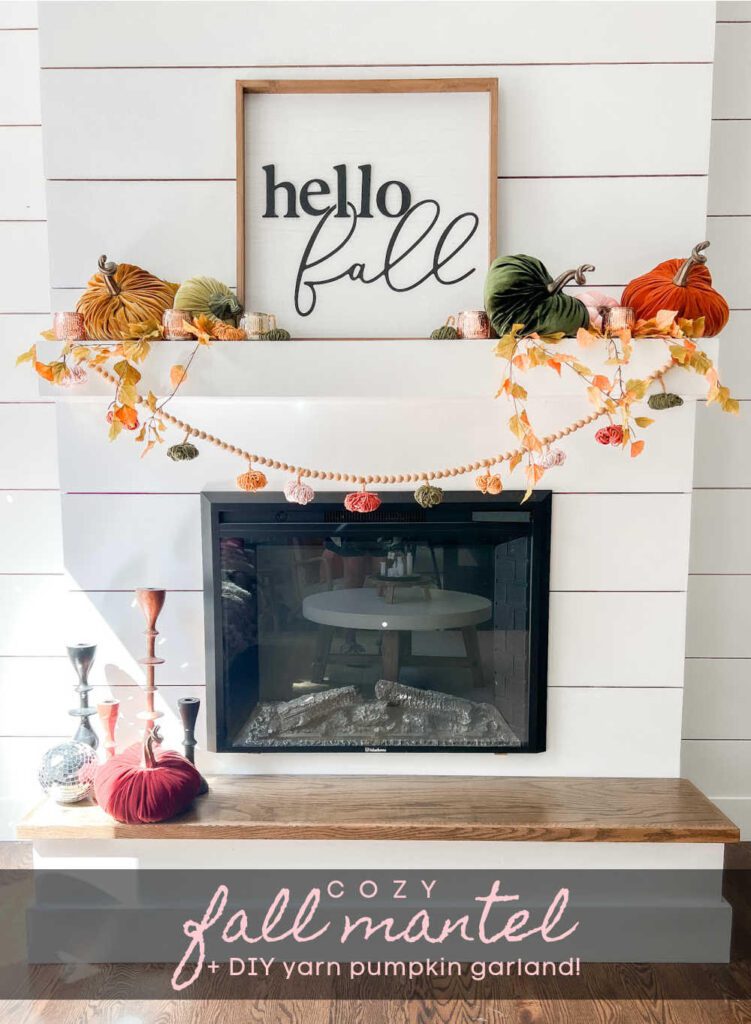
tatertots & jello / Fall Mantel & DIY Yarn Pumpkin Garland
At Home In the Wildwood / How to Make a Pea Gravel Patio


Lynn what an amazing project! I love how it turned out and added extra living space. Thank you for joining us this weekend!
Awww thank you so much, Kelly! I appreciate it so much 🙂
It looks fantastic! Thanks for sharing with us.
1-How do you attach the rebar to each timber?
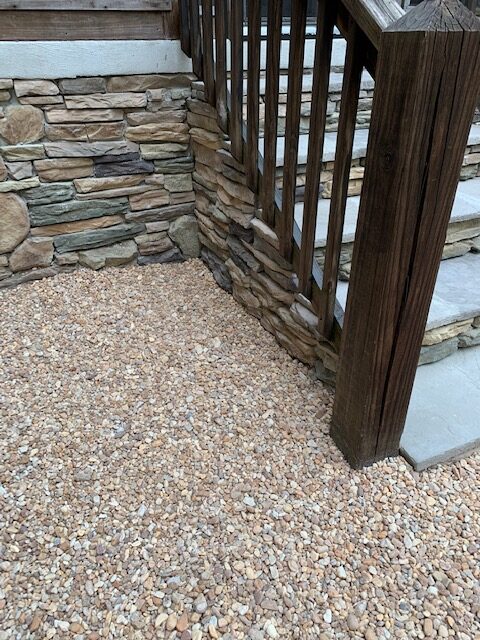
2- How is it holding up now and does much gravel make it out of your patio area?
Hey there! We drove the rebar into the ground at the corners. We drilled holes in the timbers to slide down on top of the rebar. It’s holding up really well! No gravel has fallen out of the patio area. We’re loving it!